Versions Compared

Key

  • This line was added.
  • This line was removed.
  • Formatting was changed.


Info

Customer Client Projects is available for 4.31+ sites.  It must be enabled by Commerce Vision. 


Excerpt
hiddentrue

Customer Client Projects lets your customers create orders that are linked to specific clients projects (jobs). 

Customer Client Projects is aimed at lets your B2B customers that regularly place orders for a specific client jobs ('projects'). Such customer user can add Clients and Projects on your website. Instead of a standard order, they can place one or more orders against a project. An easy way at any time to keep track of what has been bought for a project. An example is a site that For example, a site sells car parts. Their Applicable customers, e.g., mechanics, garagesauto shops, can use this feature to keep track of parts ordered for each car repair or servicing job.  


A customer user can add Clients and Projects themselves on your website. When placing an order, the user has the option of linking it to a client and project. This makes it easy to keep track of what has been purchased for a project at any time. 


Image Added


Panel

On this page:

Table of Contents


Step-by-step

Enable

1. Enable Customer Client Projects


Once the feature has been is switched on for your site, Administrators can enable/disable it in the CMS.


  1. In the CMS, go to SettingsFeature Management Content.

  2. Ensure Customer Client Projects is toggled ON.

If this feature has been set up for your site, your customers will have access via the Dashboard menu. 


Step-by-step guide

1. Enable Warning Notes
  1. Image Added

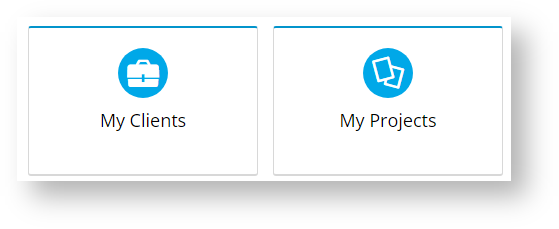
You can then give your customers access to Customer Client Maintenance and Project Maintenance. Links to these pages can be added to the Dashboard menu or somewhere on the home page . 

Image Added

Image Added


Image Added


 2. Configure Options


Image Added

Order Project Selector Widget

  1. In the CMS or on the website, navigate to SettingsSettings (/zSettings.aspx).

  2. On the General tab, find and tick the Enable Customer Warning Note checkbox.

  3. To save the setting, click the Update button.
2. Add a Warning Note to a Customer


Customer Client Project Dialogs Widget

  1. In the Customer Maintenance screen (/CustomerMaintenance.aspx), search for the required customer.

  2. Click the Customer Details tab.

  3. Click Modify.

  4. In the Warning Note field, enter the warning text.
  5. To save it, click OK.


Related help

Content by Label
showLabelsfalse
max5
spacesKB
showSpacefalse
sortmodified
reversetrue
typepage
cqllabel = "customer" and type = "page" and space = "KB"
labelsuser accounts