...
Contents
| Table of Contents |
|---|
| Table of Content Zone |
|---|
Create The Campaign
|
...
|
...
|
...
|

...
|
...
|
...
|
...
|
...
|
...
Import Products To The Campaign
|

...
|
...
|
...
|
...
|
...
|
...
|
...
|
...
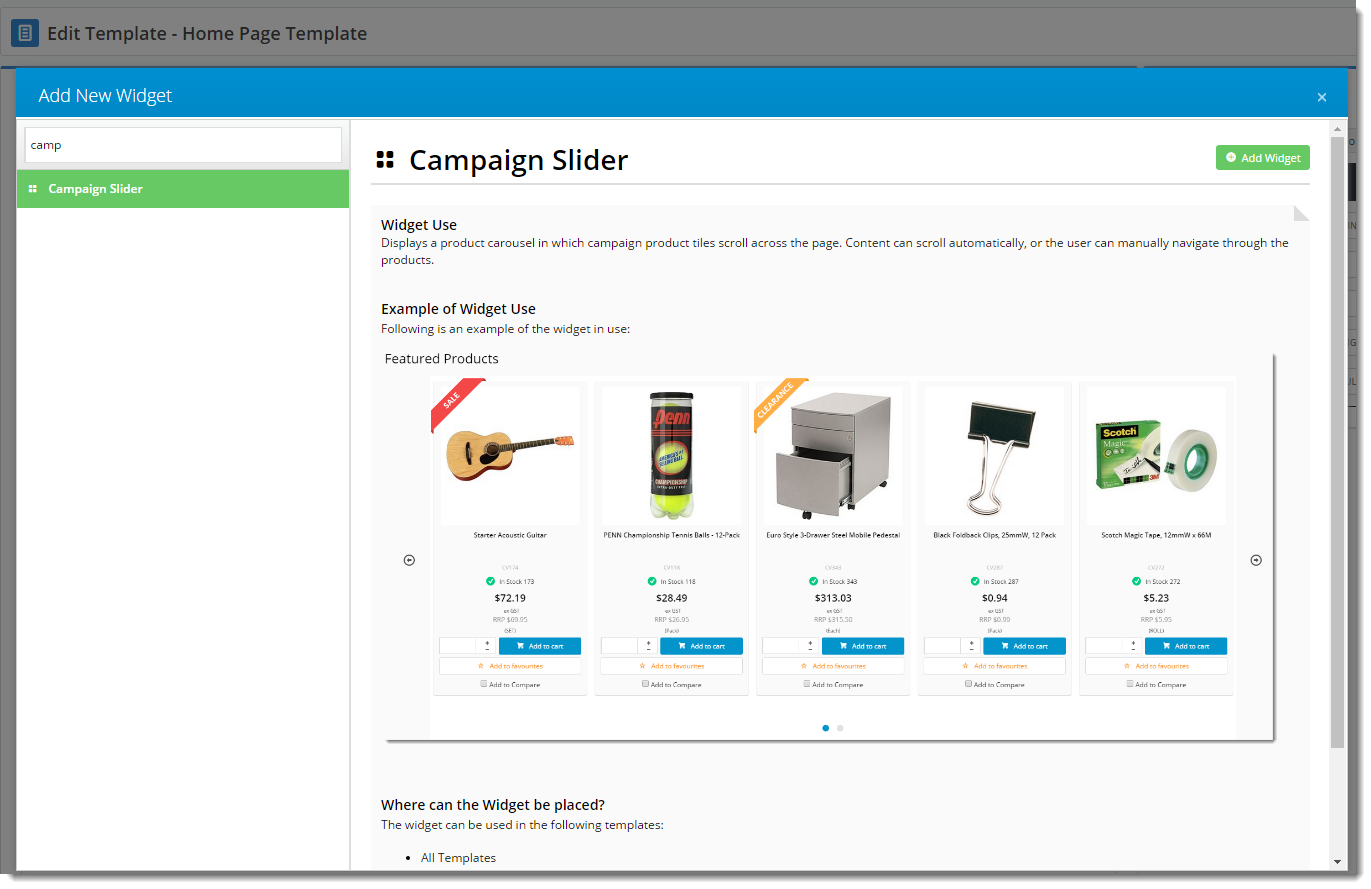
Add The Campaign WidgetOnce your campaign is created, you can display it on the web with a widget!
|

...
|
...
|


Related articles
| Content by Label | ||||||||||||||||||
|---|---|---|---|---|---|---|---|---|---|---|---|---|---|---|---|---|---|---|
|