OverviewOverview
| Excerpt |
|---|
With PayPal's Express checkout, users are able to complete their purchase in fewer steps. Customers can use the delivery and billing information they have stored with PayPal, rather than re-entering it all again on your website. This makes checkout quicker and easier, thereby increasing conversion rates. |
This guide covers the implementation of PayPal Express checkout on BPD websites.
Step-by-step guide
To configure PayPal Express for your BPD site
Configuring PayPal Express:
- Contact Commerce Vision and have us enable the PayPal Express feature for your site.
- Login to the CMS with your PayPal Merchant credentials handy.
- Navigate to Settings → Feature Settings.
- Edit the PayPal Express feature.
In the Configuration Settings section, enter your PayPal Express credentials:
Field Value PayPal Express Endpoint https://api-3t.sandbox.paypal.com/nvp PayPal Express Login URL https://www.sandbox.paypal.com/cgi-bin/webscr?cmd=_express-checkout PayPal Express Username [Your PayPal Merchant username] PayPal Express Password [Your PayPal Merchant password] PayPal Express Signature [Your PayPal Merchant signature]
Info For testing on your Stage site, use the sandbox environment credentials noted here. Contact Commerce Vision Support if you require assistance with this.
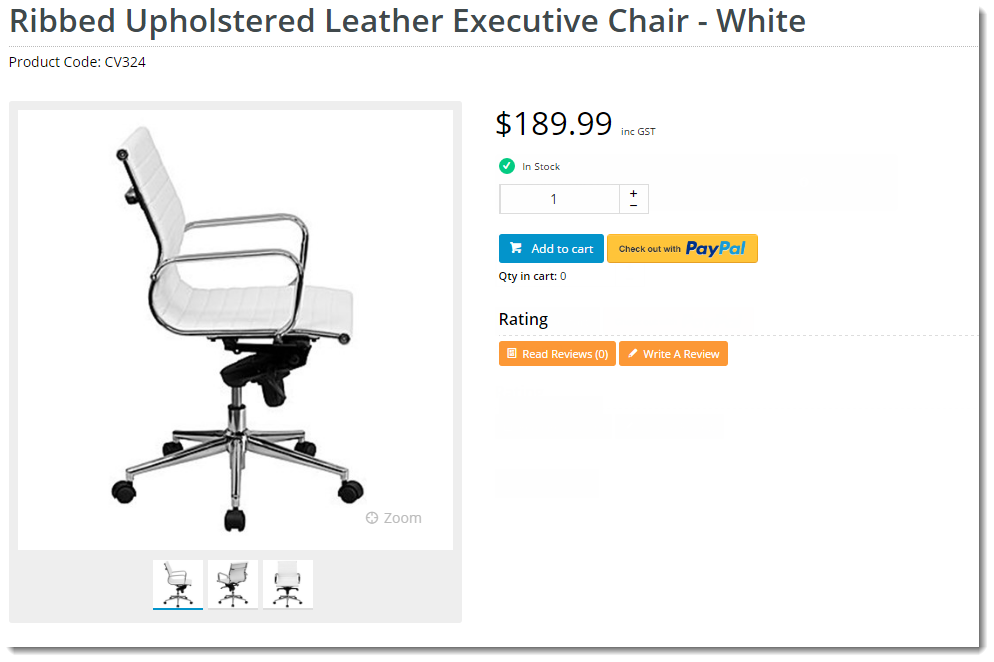
Next, determine where you'd like the 'Checkout with PayPal' button to appear. There are 2 possible locations:
Cart
Product Detail
It can be displayed in the Cart and/or on the Product Detail page.
Cart Product Detail
- Click 'Save' to stay on the page after saving, or 'Save and Exit' to save and return to the Feature Settings page.
Congratulations, PayPal Express is now ready to go on your website!
...
Customising Options by Role
...
You can override the default display settings at the Role level, if required (allowing B2C users to checkout with PayPal Express, but not preventing B2B, for example).
...
- On the Feature Settings page, click the 'Overrides' icon
...
- on the option you wish to edit.
- The Setting Override window will open, with your site's Global setting displayed at the bottom. This is the default value you are about to override at Role level, but you can also update the Global Setting here.
- Under Role Overrides, click 'Add Override Setting'
...
- .
- Enter the
...
- Role Name in the input box. Suggestions will appear - select the correct role from the list.
- Set the
...
- Override Value (toggle the
...
- option on/off as required).
- Repeat Steps 2-4 for any other roles
...
Congratulations, PayPal Express is now implemented on your website!
...
- that require overrides.
- Click 'Confirm'.
- The window will close and the Overrides counter will be updated to reflect the number of overrides entered.
- Repeat Steps 1-8 for the other display option if required.
- Click 'Save' or 'Save and Exit'.
| Tip |
|---|
Click to expand the FAQ panels at the top of the Override Settings window. |
Related articles
...


