...
| Excerpt |
|---|
Product Campaigns are a simple way to feature a group of products on a website. Campaign products might be sale items, top sellers, highlighted brands, or any other set criteria you fancy. |
Customer Self ServiceWith Commerce Vision's Campaign functionality BPD platform, you can track the number of visits, product views, and sales in relation to a particular campaign, as well as generate reports. for the products in your campaign. Adding, removing, and editing campaigns is quick and easy. The Your eCommerce Team team can even drag and drop them to different locations an entire campaign from one location to another on the page.
This guide will step you through the process of creating, editing, and displaying a product campaign.

Creating A Campaign
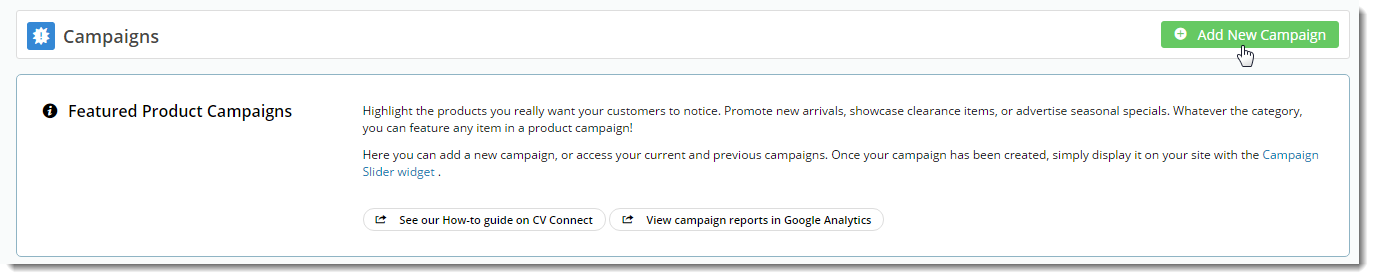
- In the CMS, navigate to Campaigns & Promotions → Campaigns.
- Click Add New Campaign.
- Give the campaign a Description and define the Start and End Dates.

- Now to add products. Enter the product code or description into the lookup field. Suggestions will appear as you type.

- Select the correct item from the list and hit Enter or click 'Add Product'.
- Repeat Steps 4 & 5 for all required products in the campaign.
- Drag and drop the products in the list to reorder them. This reflects the order in which they'll appear to your customers.

- To remove a product, use the 'Delete' option on the right hand side.
- Click 'Save' at the top of the page, and you're finished!
...
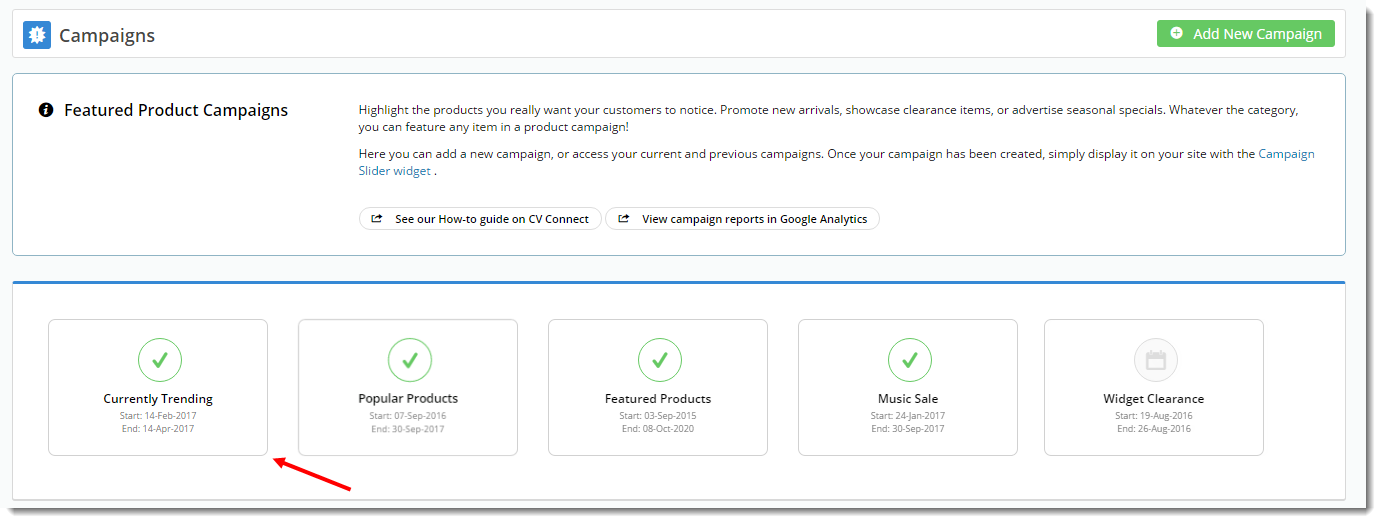
Once your campaign is created, it will appear as the latest tile on the Campaigns page (the most recently edited campaign appears first).
Select the tile to view the campaign details.

On this page you can:
- Edit the Description, Start, and End Dates.
- Add / Remove / Resequence products.
- View Campaign Statistics (as long as tracking is enabled on the Campaign Slider Widget)
- Delete Campaign
Don't forget to Save your changes!
...
Displaying The
...
Campaign
Once your campaign is created, you can display it on the web your site with a widget!
- In the CMS, navigate to the page you want the campaign to appear on. We'll choose For example, Content → Standard Pages, and select the Home page template.
- Select the appropriate zone according to your page layout, and click 'Add Widget'.
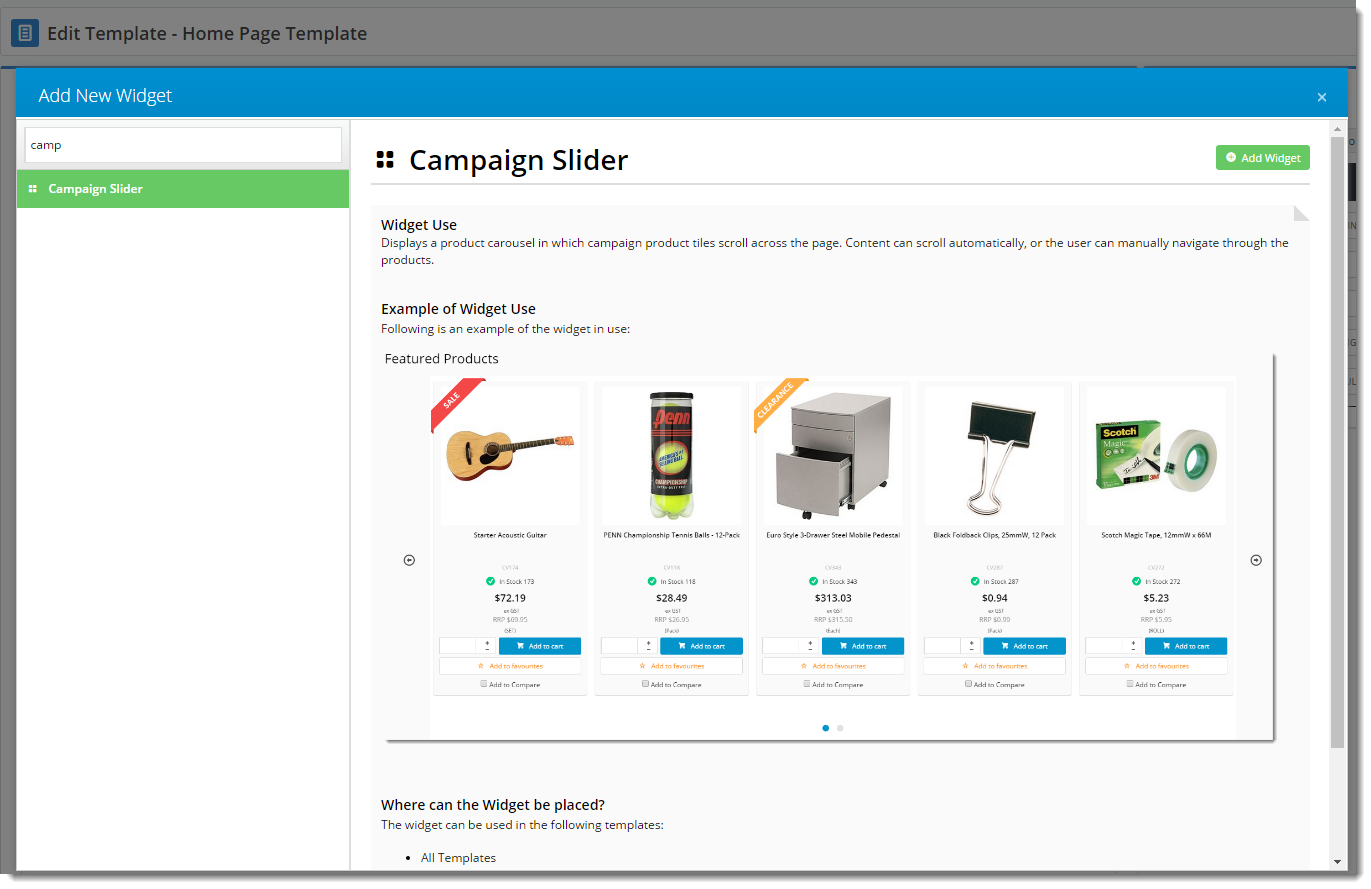
- Search for 'Campaign Slider' and click 'Add Widget'.
- Drag the widget to the correct position in the zone (if required), then select 'Edit'.
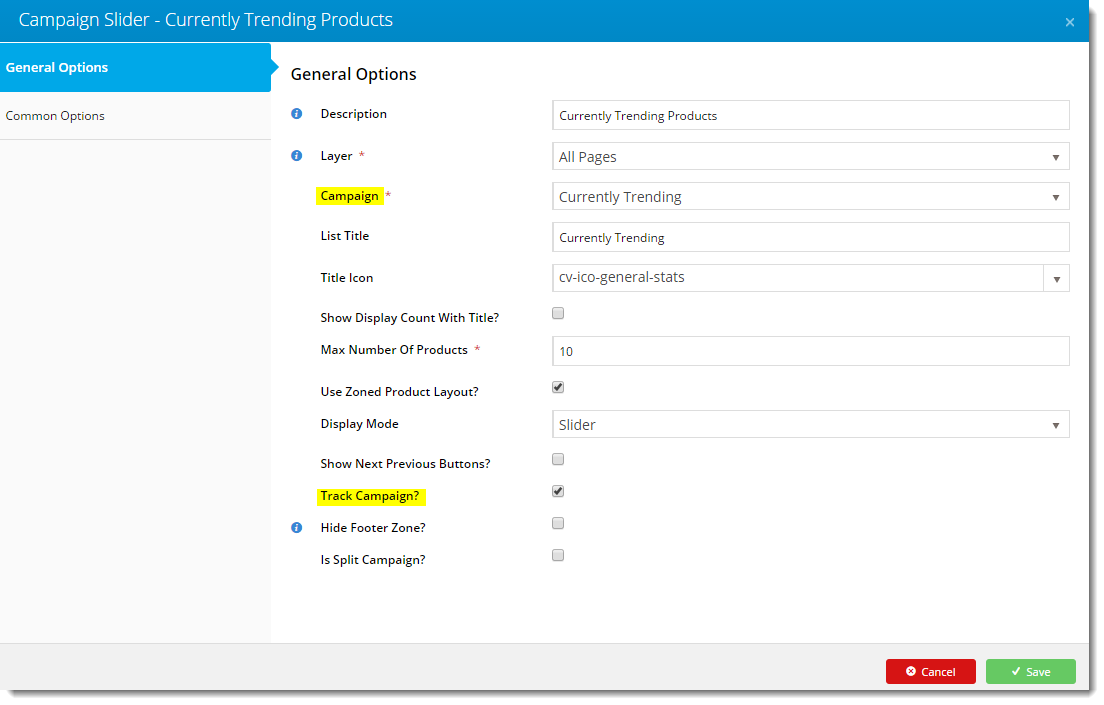
- Select your campaign from the 'Campaign' dropdown, and configure options as required. If you'd like statistics on your campaign's performance, tick the 'Track Campaign' option.
You can find full widget documentation here - Campaign Slider Widget.- Click 'Save'.
- Load your website in another browser or incognito tab and check that your campaign is displaying as expected.

| Tip |
|---|
Want to try something trickier? Check out our guide on Splitting Campaigns. |
Related articles
| Content by Label | ||||||||||||||||||
|---|---|---|---|---|---|---|---|---|---|---|---|---|---|---|---|---|---|---|
|