| Excerpt |
|---|
Everyone loves it when something is customised just for them. Now, you can tailor the content on your website to the individuals who use it. With your users' preferences in mind, you can display promotions, targeted messaging, and product suggestions. Offering relevant content through personalisation builds loyalty, strengthens customer relationships, and can drive sales. This guide will walk you through Personalisation in the Commerce Vision CMS. |
...
In this guide
| Table of Contents | ||||||
|---|---|---|---|---|---|---|
|
| Info | ||
|---|---|---|
| ||
Your website must be running version 4.01.00+ and have the Personalisation feature enabled. Contact our friendly Support Team if you require assistance with this. |
...
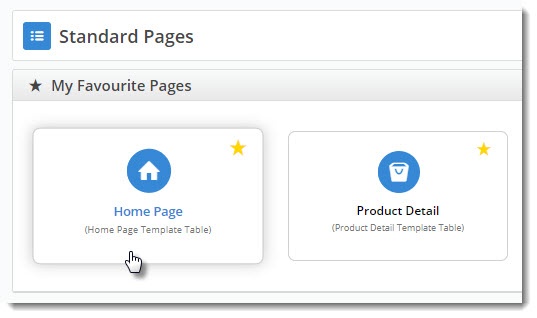
- Navigate to the template the widget is on (in this example, it's the home page).
- Edit the widget you want to personalise (in our case, a campaign slider).
- Select the Personalisation tab, then click 'Add Existing Rule'.
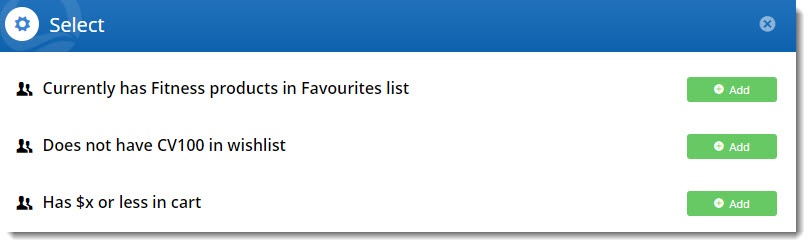
(If you hadn't created the rule already, you could click 'Add New Rule' and follow the above steps for creating a new rule).- Your alphabetical list of rules will open. Locate the one you need and click 'Add'.
- The rule will be added to the widget, but will not be active. You can use the toggle to turn the rule on.
- If you need to edit or delete the rule, hover over the Options menu (we'll cover the Schedule option later in this article).
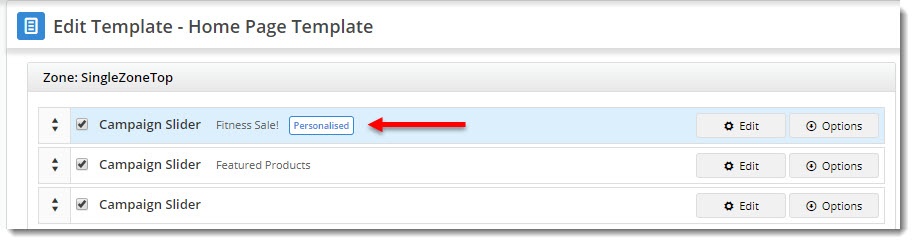
- Click Save to exit the widget. You'll see it now has a tile indicating that the widget has been personalised!


Edit a Rule
...