...
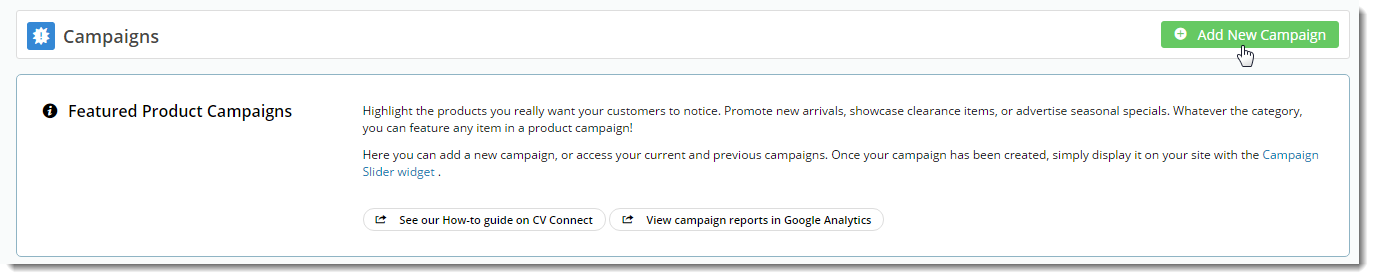
2. Click Add New Campaign.
3. Give the campaign a Description and define the Start and End Dates.

4. Now to add products. Enter the product code or description into the lookup field. Suggestions will appear as you type at least three characters.

5. Select the correct item from the list and hit Enter or click 'Add Product'.
6. Repeat Steps 4 & 5 for all required products in the campaign.
7. Drag You can drag and drop the products in the list to reorder them. This reflects the order in which they'll appear to your customers.

8. To remove a product, use the 'Delete' option on click Delete on the right hand side of the product.
9. Click 'Save' at at the top of the page, and you're finished!
...
1. Once your campaign is created, it will appear as the latest tile on the Campaigns page. (Note- the most recently edited campaign appears will appear first).
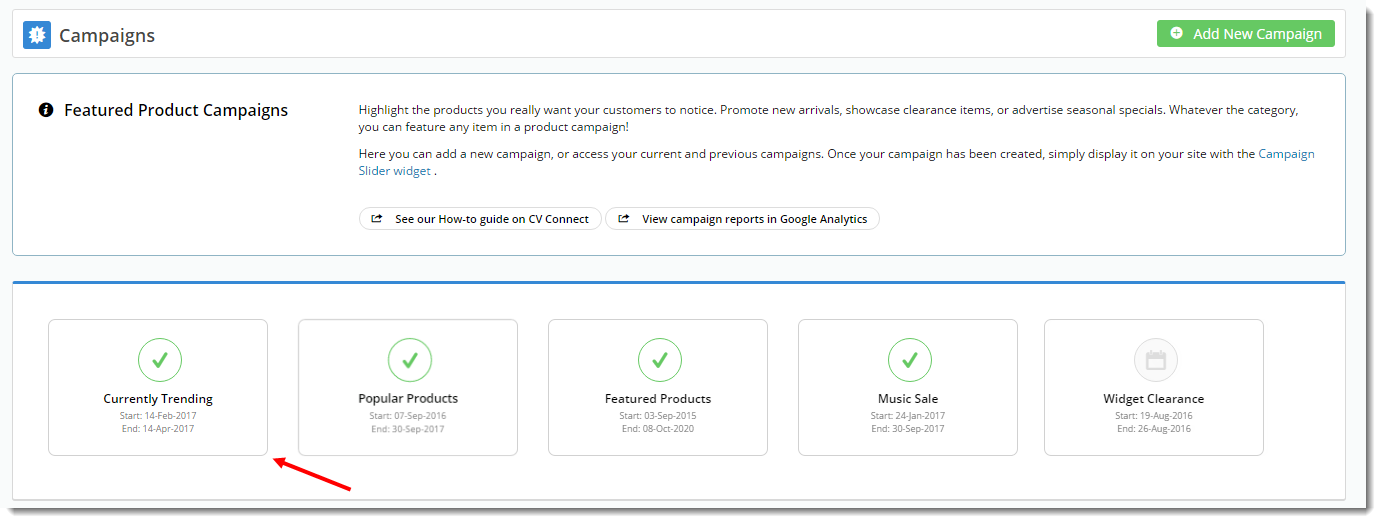
2. Select the tile to view the campaign details.
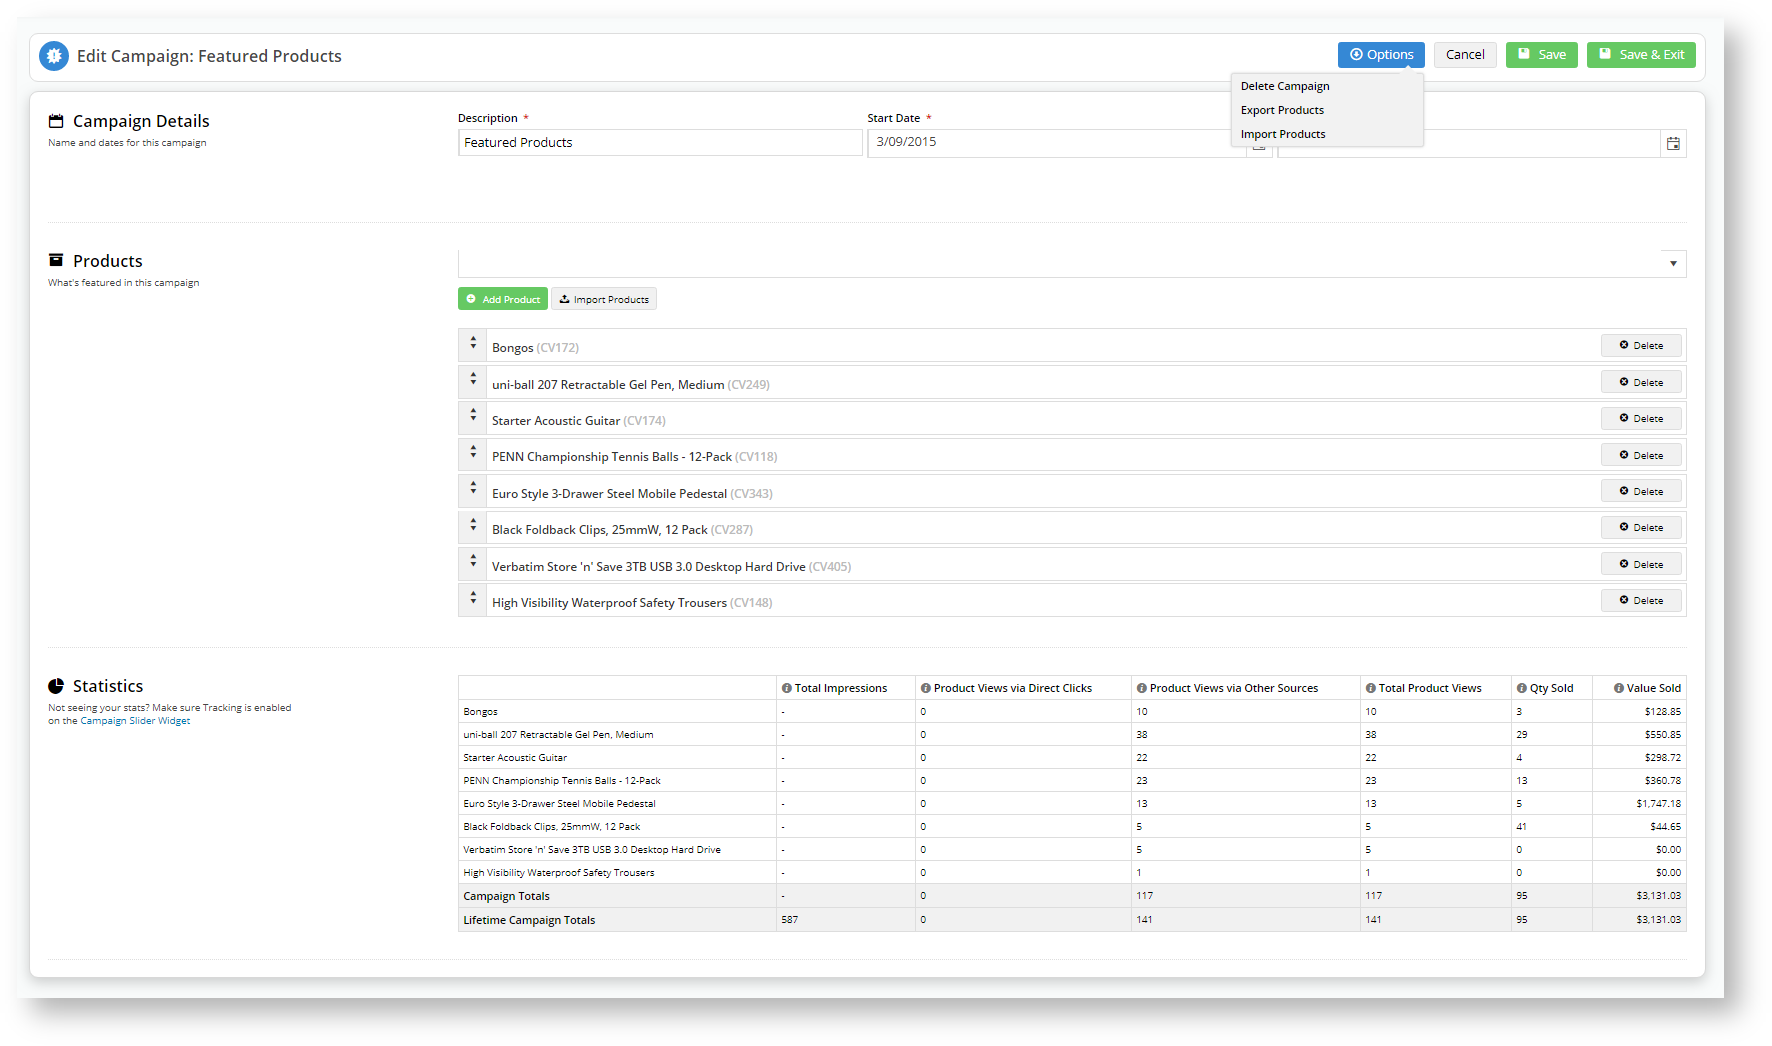
3. On this page you can:
• Edit the Description, Start, and End Dates.
• Add / and Remove / Products
• View Campaign Statistics (as long as tracking is enabled on the Campaign Slider Widget)
• Delete Campaign.
• Export and Import Products to the Campaign.
4. Save your changes.
| Excerpt |
|---|
Export/Import Products to the Campaign
You can add products individually by clicking to the campaign. To add a product individually, click the +Add Product button, or you . You can also import products in bulk. For this option: 1. Create a CSV file listing the Campaign Name; ProductCode; Sequence (the product display order).
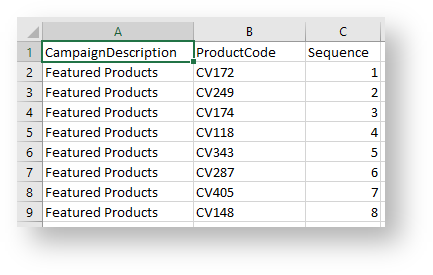 Image Removed Image Removed
2. Click Options, then select Import Products 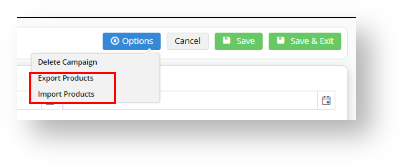 Image Removed Image Removed
3
. Or select Import Products - In the Options menu, select Import Products or click the Import Products button next to the + Add
Product prompt- Products button.
Image Added 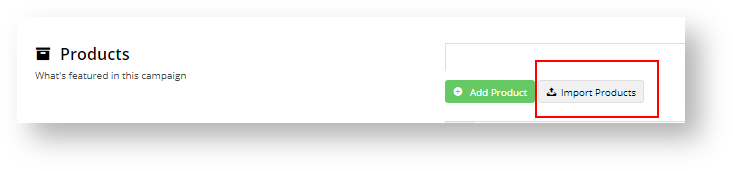
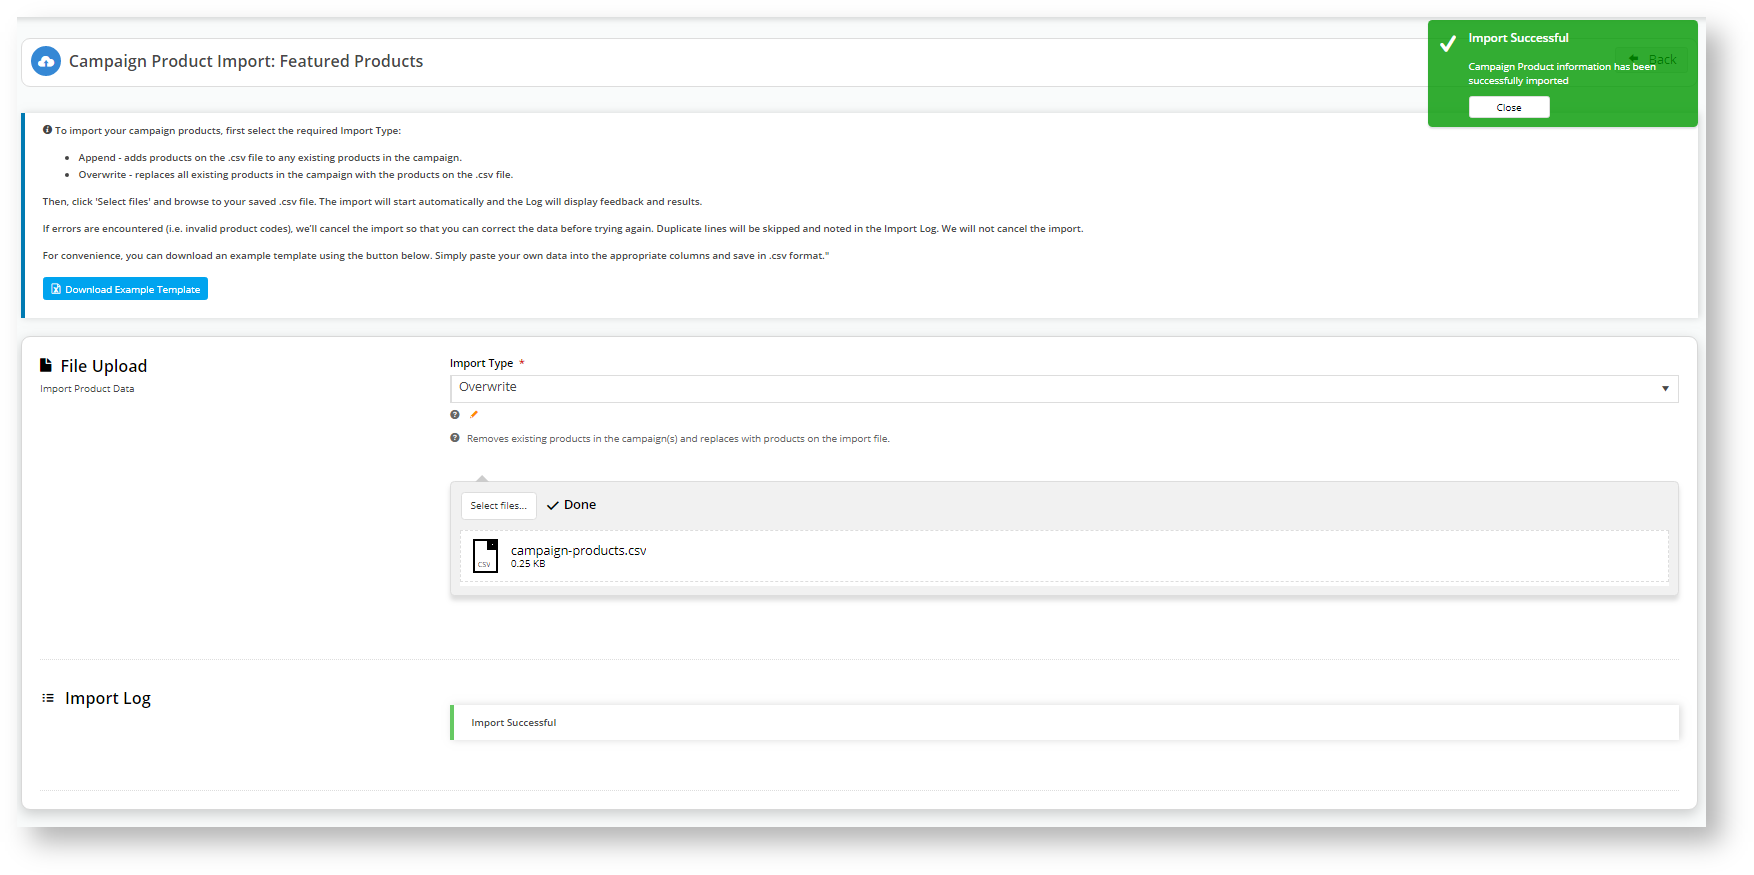
42. As the instructions state, you can import products append to those currently in the campaign, or you can overwrite existing products (the order in which they appear). 5. Select your Import Type (Append/Overwrite) 6. Click Select Files Create a CSV file for the products you want to import. In the Campaign Product Import page, you can download an example template. This template provides details of the headers needed and an example of a product. Image Added
3. For each product you want to import, under 'CampaignDescription', enter the Campaign Name, under 'ProductCode', enter the product's code, and under 'Sequence', enter the number you want the product to appear in. Save the file. 4. In the File Upload section, for Import Type, select 'Append' if you want to add more products to the campaign or 'Overwrite' to replace existing products. 5. Click Select files.... 7. Navigate through Windows Explorer to locate Select the CSV file you created earlier. 8. The import will start as soon as you press Open in Windows Explorer. 9. If you select Append, and the product already exists, the system will let you know the reason it didn't import any product. 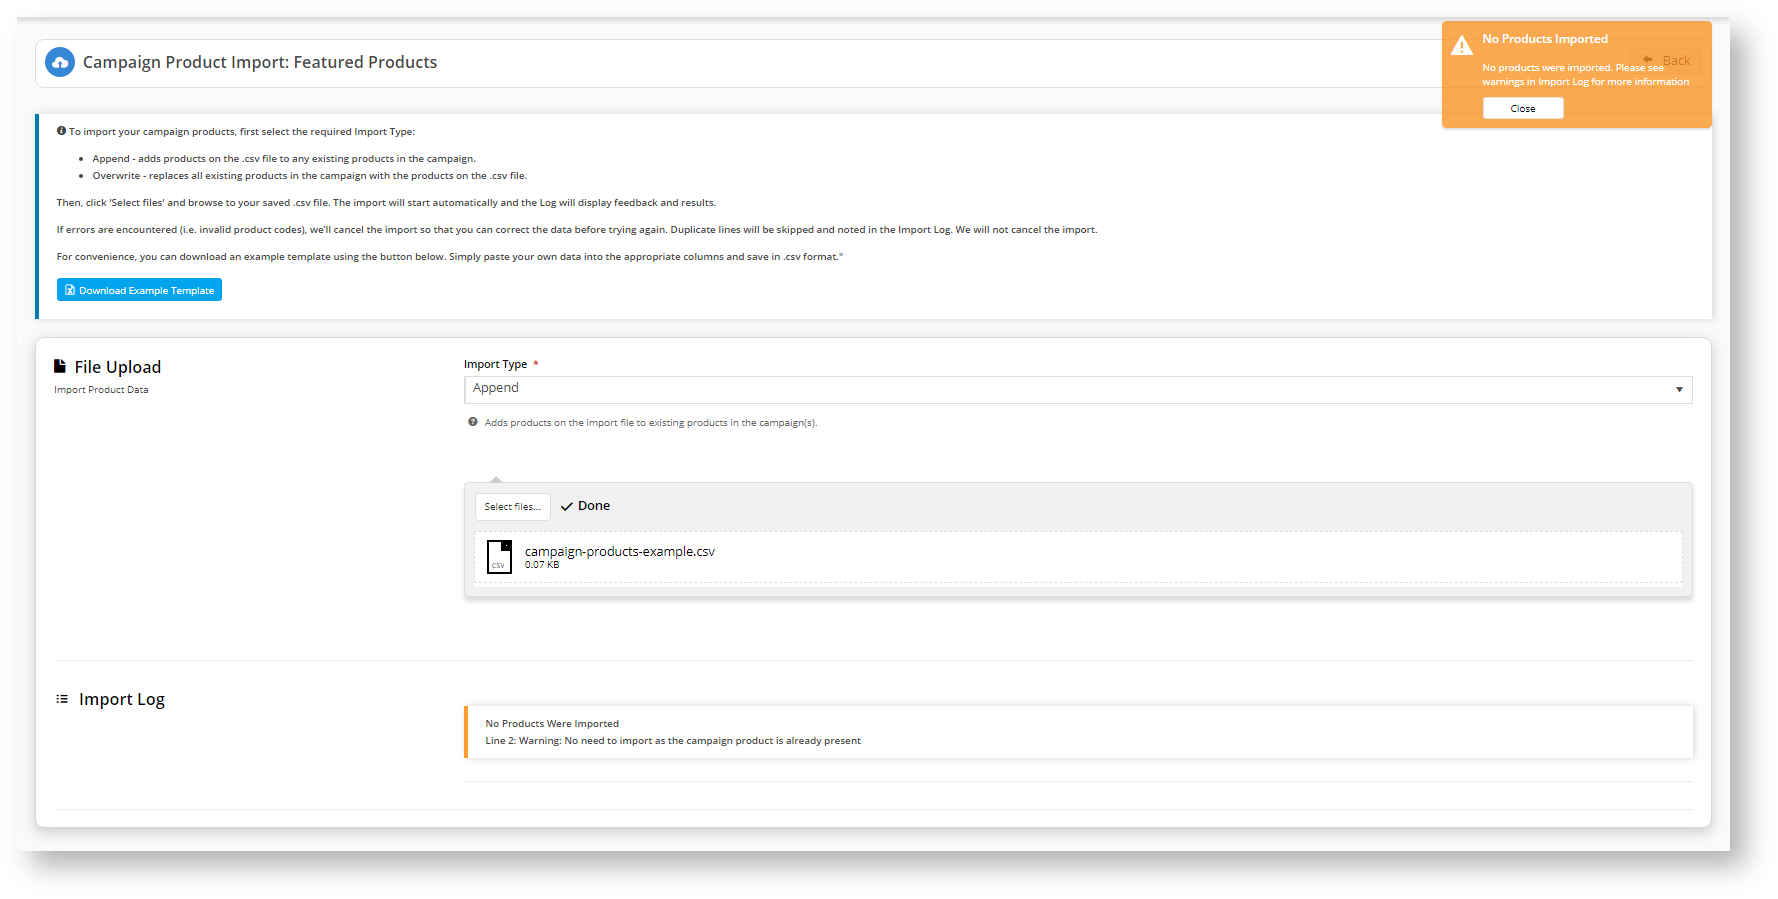 Image RemovedCheck the Import Log section for system messages about your import. If one or more products were successfully imported, 'Import Successful' is displayed. Image RemovedCheck the Import Log section for system messages about your import. If one or more products were successfully imported, 'Import Successful' is displayed.
You may see one or more other Import Log messages: i. If the Import Type selected is 'Append' and the product is already in the campaign, this message is displayed. If a message is specific to a product, the row number in the CSV file for the product is included.  Image Added Image Added
ii. If the Campaign Name does not match the current campaign, this message is displayed:  Image Added Image Added
10. If you want to change the order of the existing products, then alter the sequence number in your CSV file. For instance, we have changed CV148 to display at the top (1) and all other products move down in the list. As you can see, it's the Sequence # that controls the display order, not the position the product sits in the CSV file. 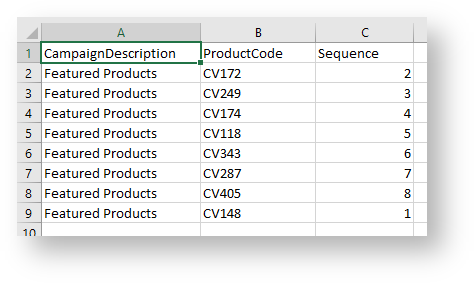
11. Select Import Type Overwrite and click Select file...
 12. The product order now reflects the sequence in the CSV file. 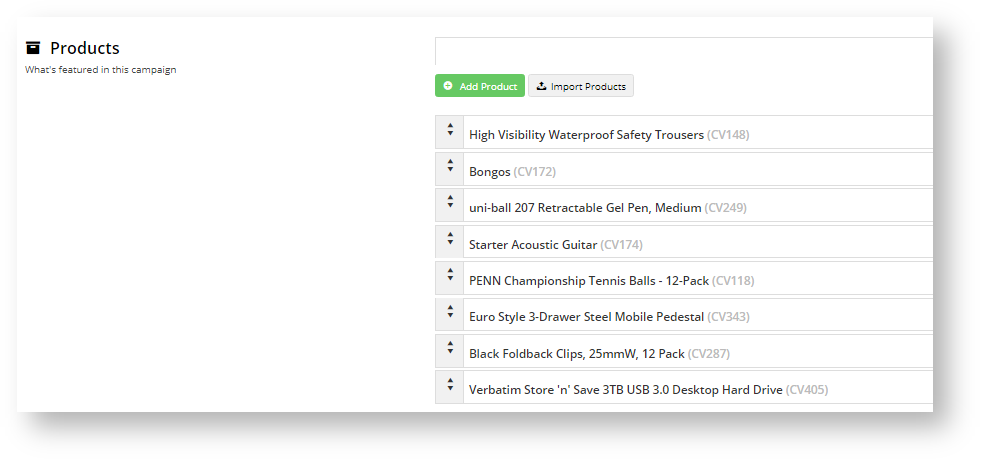
13. If you want to add a new product and re-sequence existing products, then select Import Type Overwrite. 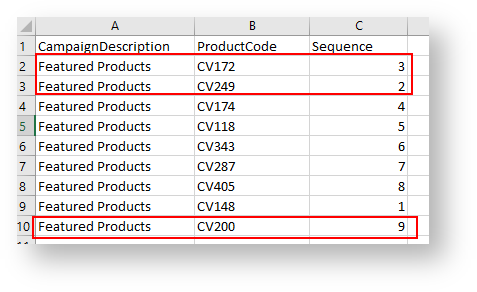
14. Review the products in your campaign to confirm they match your CSV sequence. 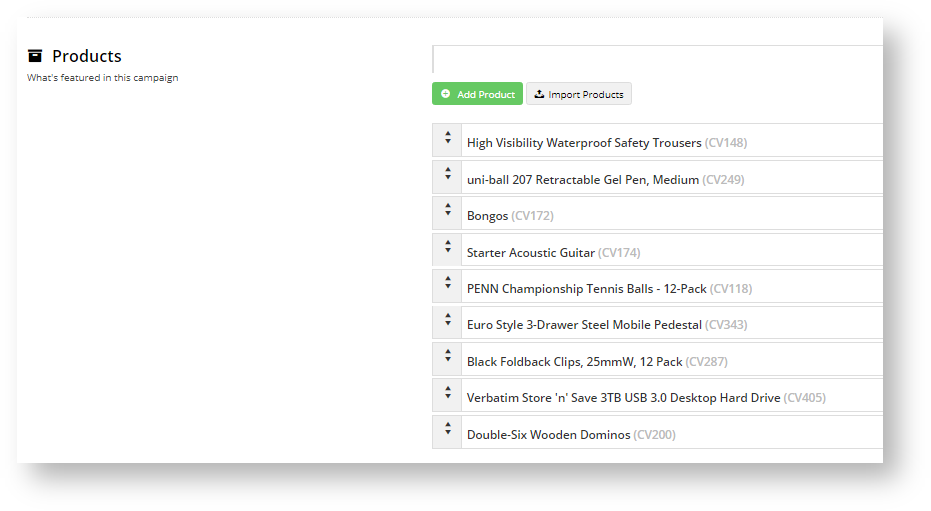
|
...