...
| Multiexcerpt | ||||
|---|---|---|---|---|
| ||||
Add own freight carrier |
Overview
Adding the Own Freight Carrier option allows your Customer Users to use their own freight accounts as a standard freight option. During checkout, the user will be able to select their own freight account rather than one offered by your website.

Step-by-step guide
To add this option:
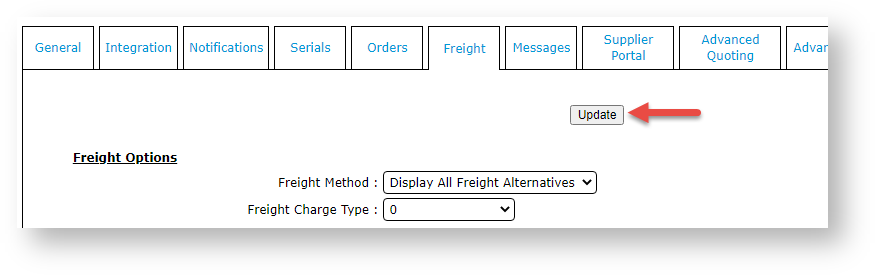
- In the CMS, navigate to Settings → Settings (/zSettings.aspx).
- Click the Freight tab.
If the 'own freight carrier' option already exists, continue to step 4. If not, add it now.
Expand
title Click here to see how to add a new freight carrier... 1. Click the Standard Freight tab.
2. Click New.
3. In Code, enter the carrier's code.
4. In Description, enter a name for the carrier.
5. Enter values for other fields as you require.
6. To save the carrier, click OK.
The 'Own Freight Carrier' option is now in the list.
- In Carrier code for own courier (mandatory if using), enter the Code of 'own carrier'.
- To save this setting, click Update. The 'own carrier' has successfully been added if you see the carrier's Description next to the Carrier code for own courier (mandatory if using) field.

- In Multiple Freight Own Carriers Mode, select Free Form Entry.
- Scroll back up the screen and click Update.


Related help
| Content by Label | ||||||||||||||||||
|---|---|---|---|---|---|---|---|---|---|---|---|---|---|---|---|---|---|---|
|
...