...
| Info | ||
|---|---|---|
| ||
The prompt 'Select from your own list of own carriers' can be edited in the Freight Options Widget. |
Step-by-step Guide
This guide assumes that the feature has been implemented by Commerce Vision.
To add the Own Freight option:These steps will implement a generic own carrier freight option for the buyer during checkout. They do not apply to custom implementation of this feature.
1. Add a Carrier Code for Own Freight
- In the CMS, go to Settings → Settings → Settings.
- Click the Freight tab.
If the 'own freight carrier' option already exists, continue to step 4. If not, add it now.
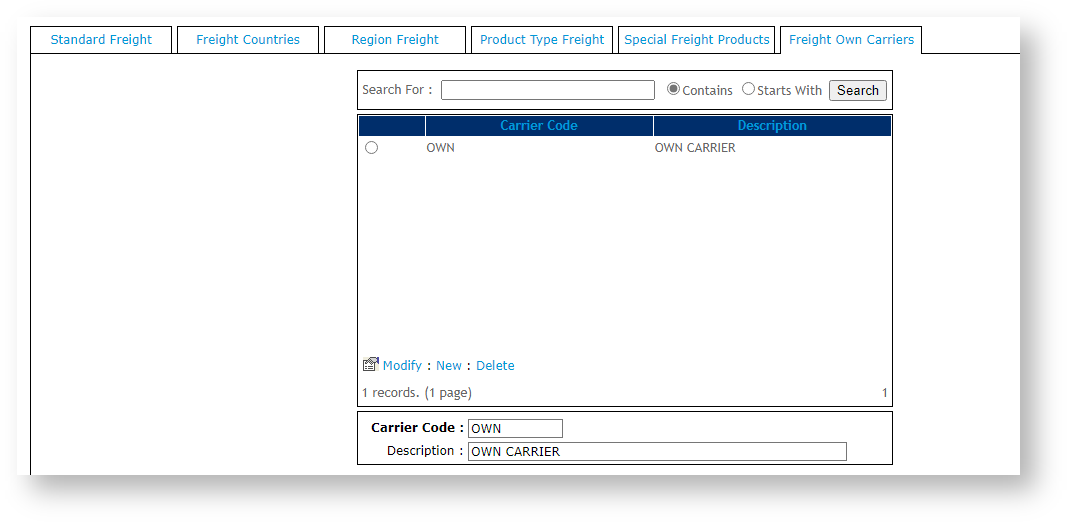
Expand title Click here to see how to add a new freight carrier...1. Click the Standard Freight tabOwn Carriers tab.- 2. Click Scroll down and click New.
3. In
- In Courier Code, enter a carrier code for 'own carrier'.
4. the code to be used to indicate own freight, e.g., OWN.
- In Description, enter a suitable carrier name for the carrier.
5. Enter values for other fields as you require.6. To save the carrier, click OK.
The 'Own Freight Carrier' option is now in the list.
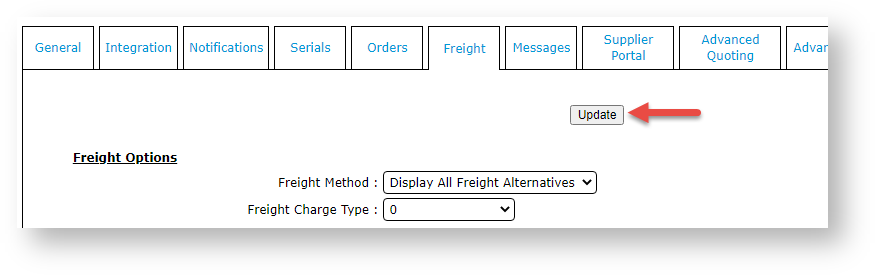
- In Carrier code for own courier (mandatory if using), add the Code for 'own carrier'.
- To save this setting, click Update. The 'own carrier' has successfully been added if you see the carrier's Description next to the Carrier code for own courier (mandatory if using) field.
. This is displayed to the buyer.
- Click Save.


2. Change Setting to Allow Own Carrier
- Click the Freight tab.
- In Multiple Freight Own Carriers Mode, select Free Form Entry. This allows the 'own carrier' code to display as a freight option.
- Scroll back up the screen and click Update.
...