Contents
| Table of Contents | ||
|---|---|---|
|
...
...
...

| Panel | |
|---|---|
On this page:
|
Create a Campaign
...
- In the CMS,
...
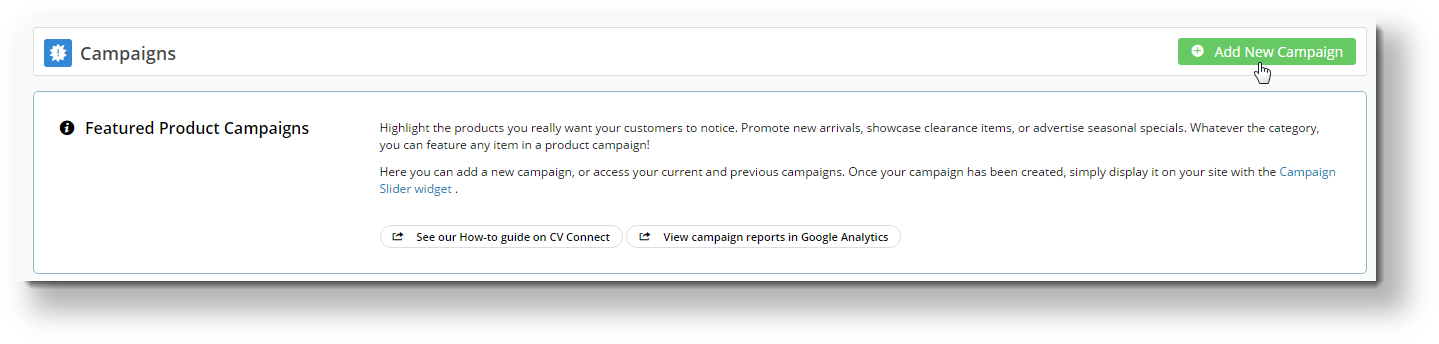
- go to Campaigns & Promotions → Campaigns.
...
- Click
...
- Add New Campaign.
...
...
- Give the campaign a Description and define the Start and End Dates.
...

...
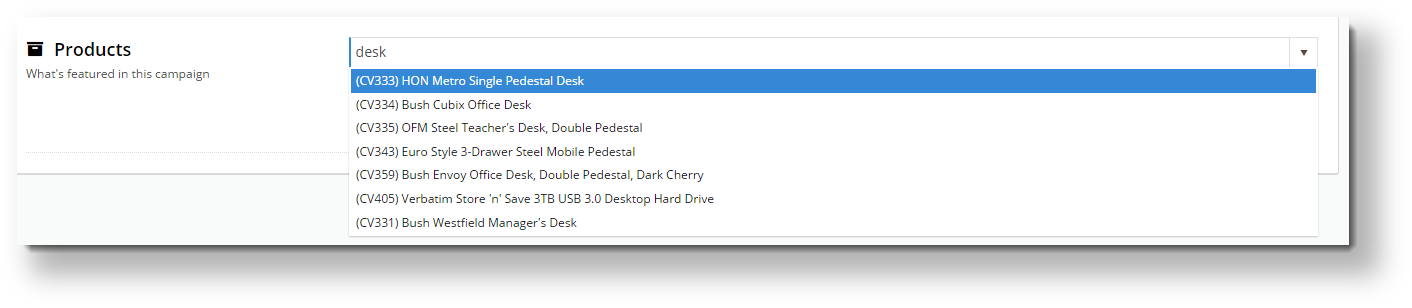
- Now add products. Enter the product code or description into the lookup field. Suggestions will appear as you type at least three characters.
...
...
- Select the correct item from the list and hit Enter or click Add Product.
...
- Repeat Steps 4 & 5 for all required products in the campaign.
...
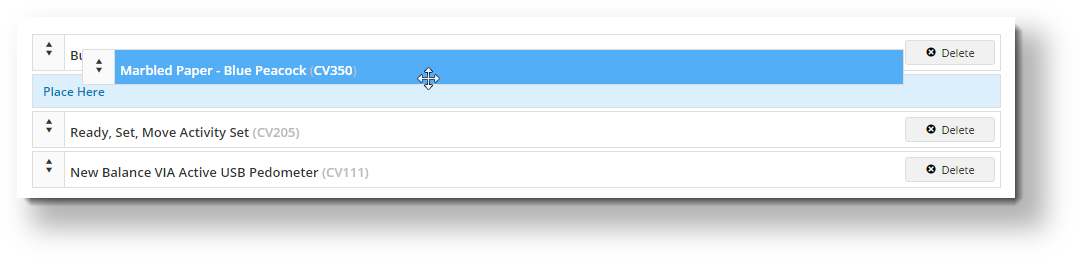
- You can drag and drop the products in the list to reorder them. This reflects the order in which they'll appear to your customers.
...
...
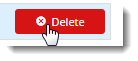
- To remove a product, click Delete on the right hand side of the product.
...
...
- Click Save at the top of the page, and you're finished!
...
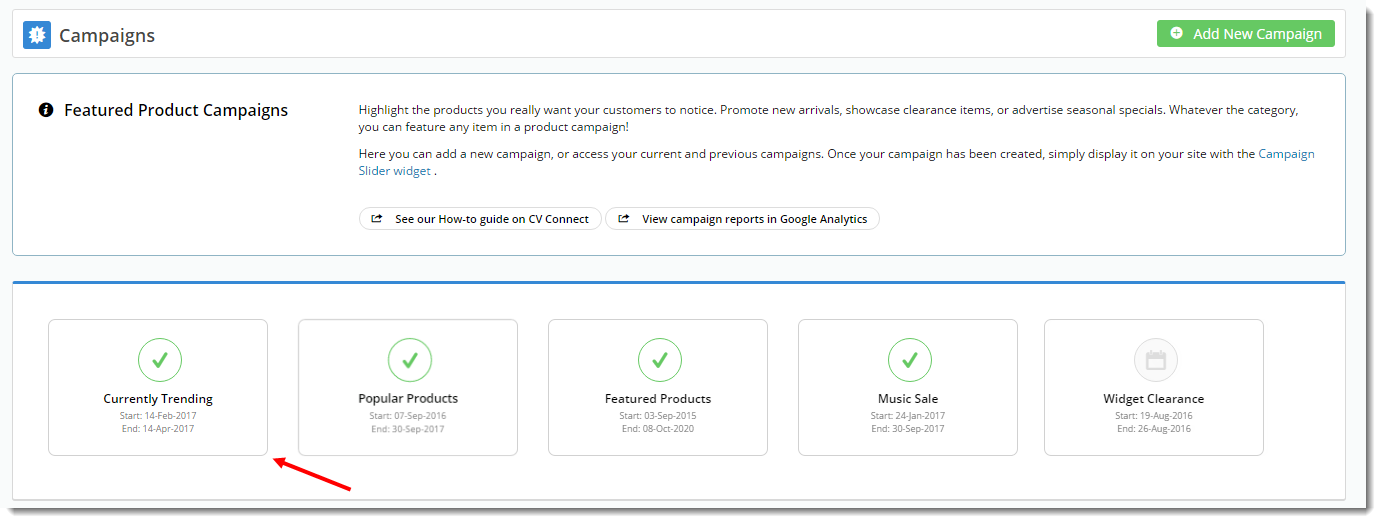
Edit a Campaign
Once your campaign is created, it will appear as the latest tile on the Campaigns page. (
...
NOTE - the most recently edited campaign will appear first.)
...
- Select the tile to view campaign details.
...
...
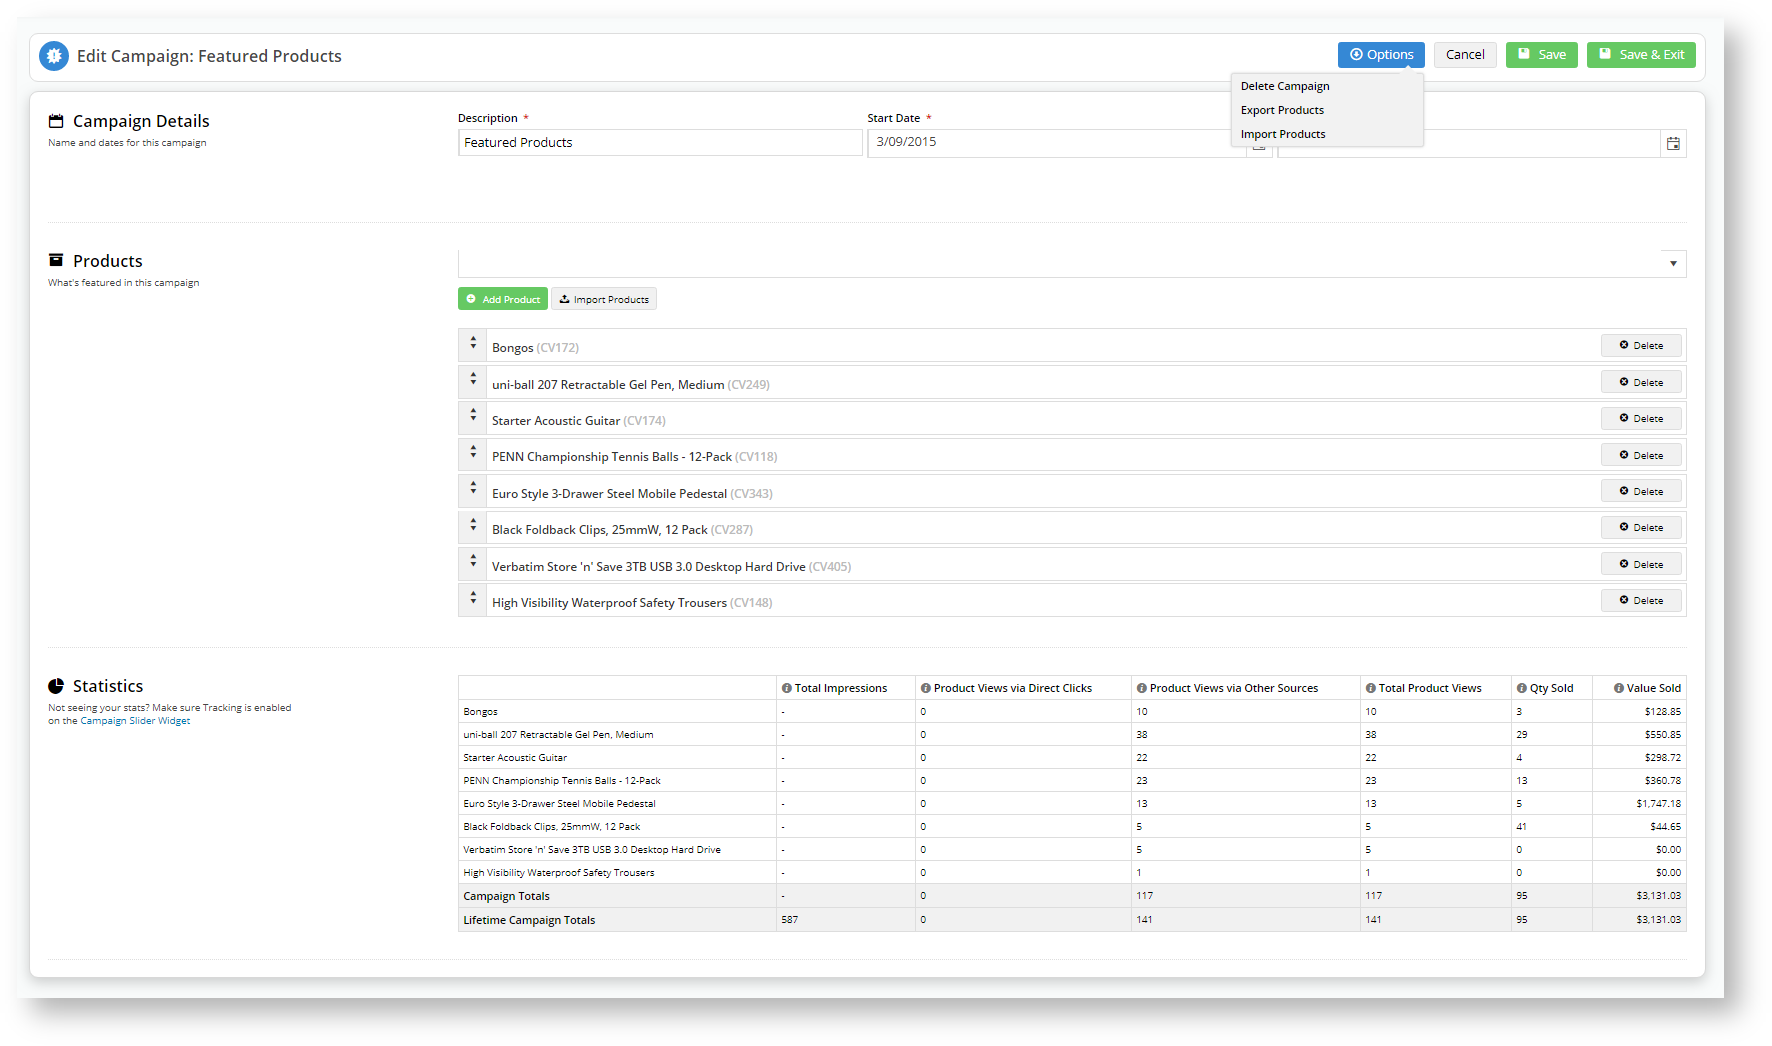
- On this page, you can:
• Edit the Description, Start, and End Dates
• Add and Remove Products
• View Campaign Statistics (as long as tracking is enabled on the Campaign Slider Widget)
• Delete a Campaign
• Export and Import Products to the Campaign
4. Save your changes.
| Excerpt |
|---|
...
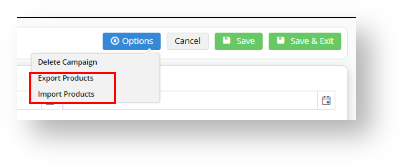
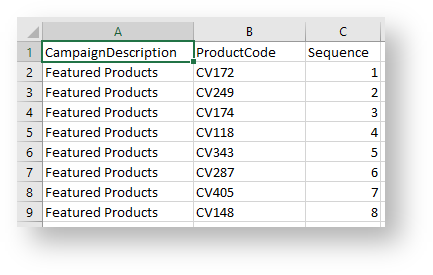
Export Products from a CampaignYou can export the list of existing products in the campaign as a |
...
.csv file. |
...
|
...
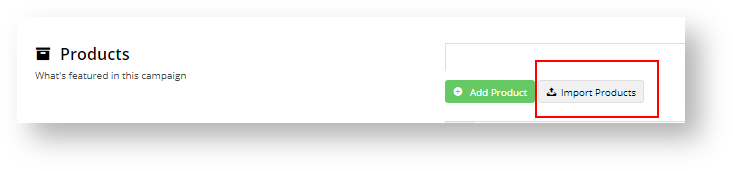
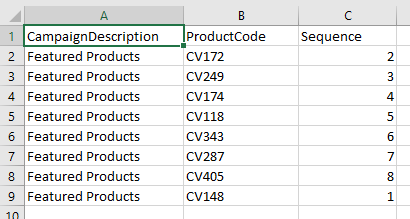
Import Products to the CampaignYou can add products and/or change the display order of existing products to the campaign. To add a product individually, click the +Add Product button. You can also import products in bulk. For this option |
...
...
|
...
|

|

...
|
...
|
...
|
...
|
...
|
...
|
...
|
...
|
...
|
...
|

...

...
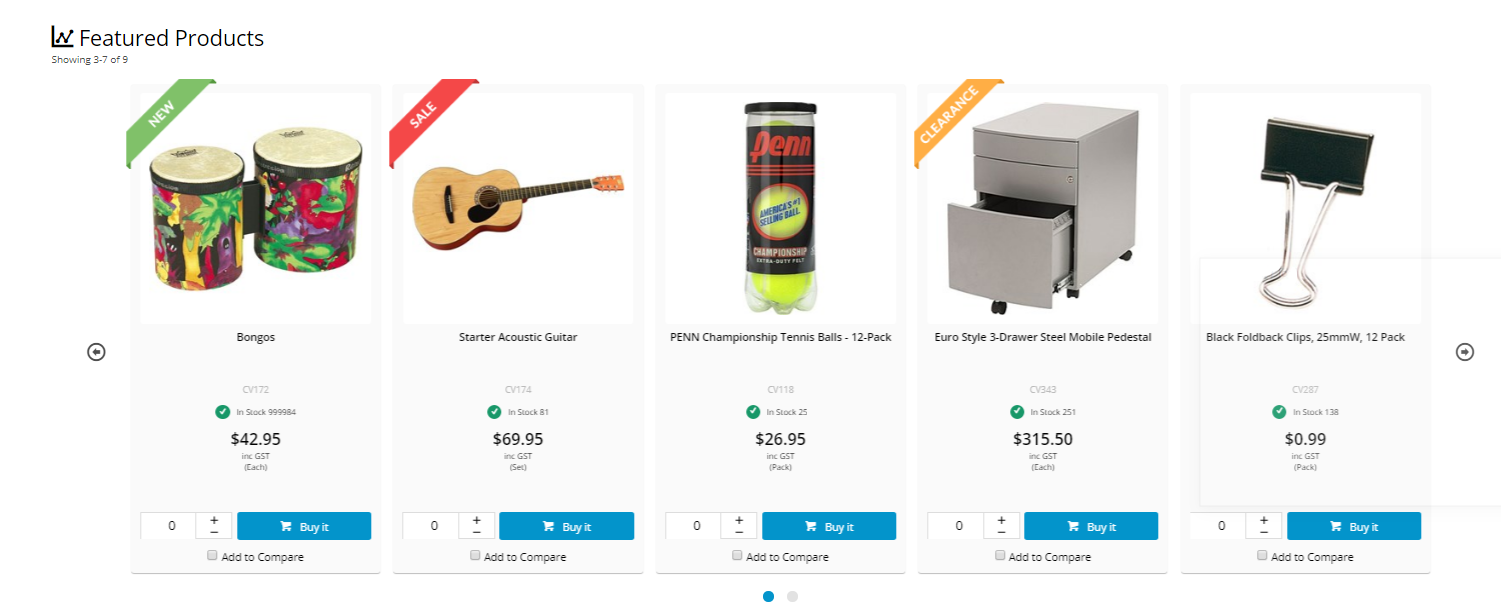
Display a Campaign
Once your campaign is created, you can display it on your site with a widget.
...
- In the CMS,
...
- go to the page you want the campaign to appear on. For example, Content → Other Pages & Templates, and select the Home page template.
...
- Select the appropriate zone according to your page layout, and click 'Add Widget'.
...
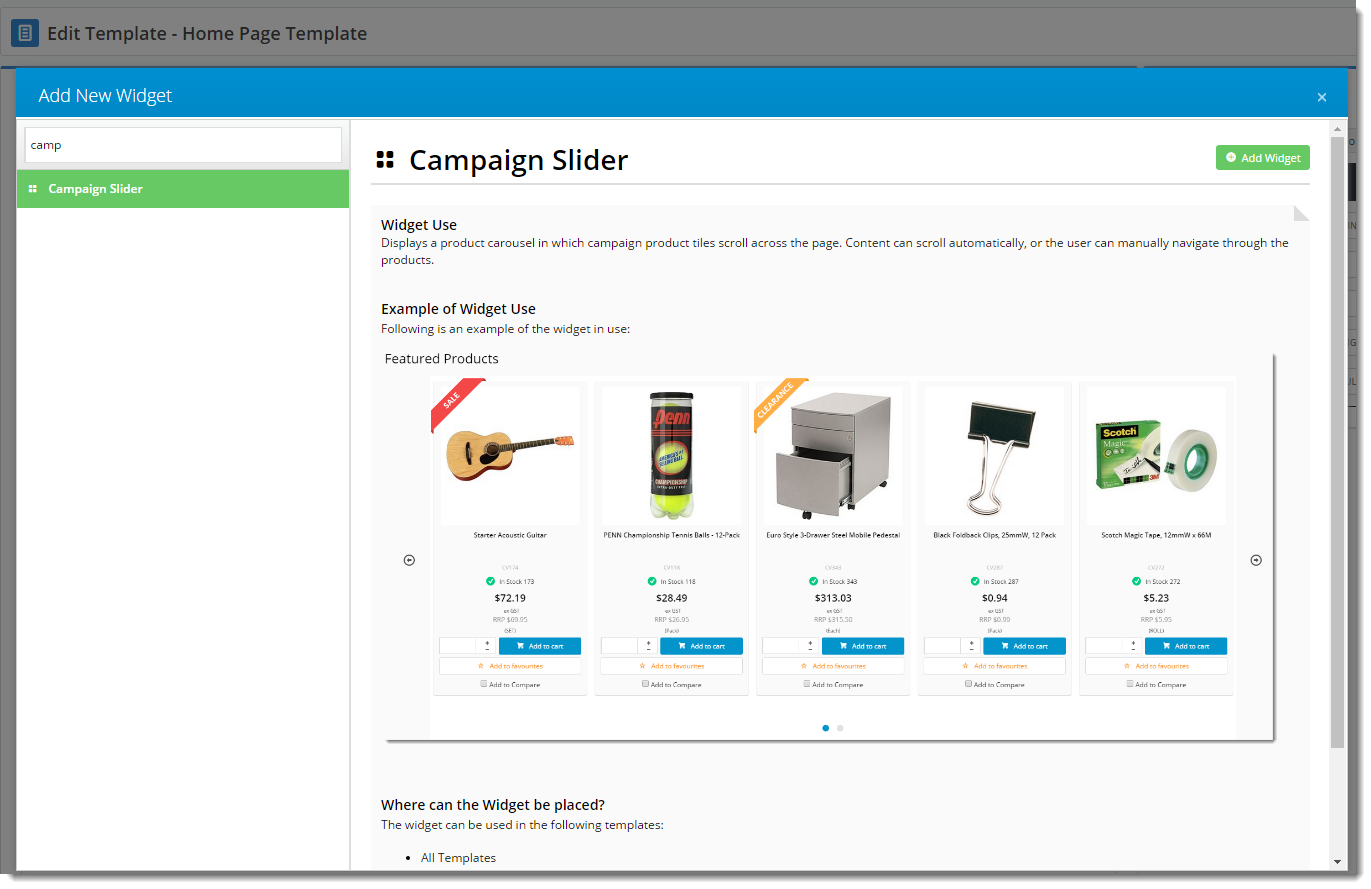
- Search for 'Campaign Slider' and click 'Add Widget'.
...
- Select your campaign from the 'Campaign' drop-down, and configure options as required. If you'd like statistics on your campaign's performance, tick the 'Track Campaign' option.
...
You can find full widget documentation here - Campaign Slider Widget.
...

...
- The carousel options give you control over the display and functionality of your campaign slider.
...
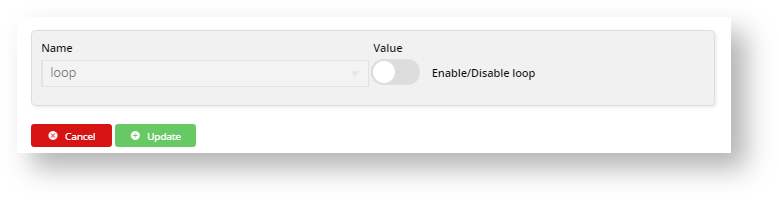
- To change a value, highlight the option and click Edit.
...
- Change the value and click
...
- Update.
...

...
- You can add more features by clicking the down-arrow and selecting
...
- a feature–there are many to choose from.
...

...
- You can remove a feature by clicking Remove, or disable it by toggling the Enable/Disable button when you edit the feature.
...
- Click
...
- Save
...
- .
...
- Load your website in another browser or incognito tab and check that your campaign is displaying as expected.
...
| Tip |
|---|
Want to try something trickier? Check out our guide on |
...
| Minimum Version Requirements |
| |||||
|---|---|---|---|---|---|---|
| Prerequisites |
| |||||
| Self Configurable |
| |||||
| Business Function |
| |||||
| BPD Only? |
| |||||
| B2B/B2C/Both |
|
...
| Multiexcerpt | ||
|---|---|---|
| ||
Contact CV Support |
...
| MultiExcerptName | Ballpark Hours From CV (in addition to any self config required) |
|---|
...
| Third Party Costs |
|
|---|
...
| Multiexcerpt | ||
|---|---|---|
| ||
Promotions |
...
Related help
| Content by Label | ||||||||||||||||
|---|---|---|---|---|---|---|---|---|---|---|---|---|---|---|---|---|
|
...
|