| Table of Contents |
|---|
...
...
...
...
...
...
...
...
...
- .
When you enter the Scripts or Styles screen, all files are listed. At a glance, you can see the number of times a file is in use and its last edited details. Files can be sorted by file name and date last edited.

Once a script or style has been saved,
...
it is available for adding to a page or template. See: Scripts & Styles Widget.

...
Create a script or style
...
To best explain the functionality, we will make a simple change to the background colour of our Store Locator page.
- In your CMS,
...
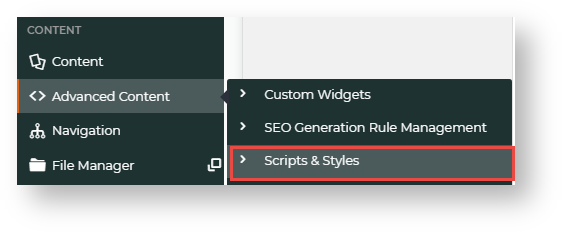
- go to Advanced Content → Scripts & Styles.
- Select Style Sheets. All existing style sheets are displayed.
- Click Add Script/Style

...
- on the top right corner.
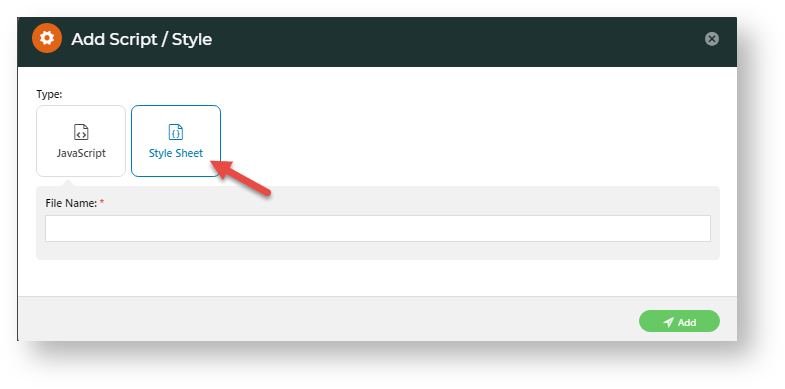
- In Add Script/Style, select Style Sheet.
- In File Name, enter an appropriate name that follows the naming conventions of our site.
- Click
...
- Add
...
- .
...
- In the blank editing window
...
- , start typing in your custom style sheet.
...
- (For a guide to using the Editor, see Code Editor.) Or you can paste text
...
- into the Editor.

...
- Click Save.
- Click Cancel to exit
...
- .
Apply a script or style to a page/template
Now we will apply that style sheet to our Store Locator page (or the Page that you have chosen).
- In your CMS,
...
- go to Content → Pages & Templates
...
- Use the Search tool to find 'Store Locator'. NOTE - Your page name may be different.
- Click Edit

...
- next to the page/template name.
...
- In the
...
- template, click Add Widget.
- In the search field, start typing 'Scripts & Styles' — the system will auto-fill the results.
- Select 'Scripts & Styles' and click Add Widget
.
- The Scripts & Styles Widget automatically opens. In Description, enter a meaningful description for


...
- this use
...
- . This will display next to the style name when
...
- in use.
- Add a Layer if
...
- needed. (See
...
- : Layers.)
...
- In Scripts & Styles
...
- , select the style you created
...
- , then click Add.
- Click Edit

...
- to make some last minute changes to the Style Sheet, otherwise, to apply the script or style, toggle ON Enable widget on Save, then click Save
...
- .
...
- If the Page Preview setting is on, click Publish (top right of the screen).
- Go to your site and open the Store Locator page (or the page to which you made changes).


Compare or revert to an earlier version of a script or style
...
The file history of each script and style
...
lists all versions with
...
saved dates/times and users. You can
...
compare versions. If you
...
're not happy with the current version,
...
revert to an earlier one.
- In the CMS,
...
- go to Advanced Content → Scripts & Styles.
- Click on either the Javascript or Style Sheets tab.
- Click the Edit button

...
- next to the script or style.
- In the 'Edit' page, hover on Options

...
- , then click File History.

...
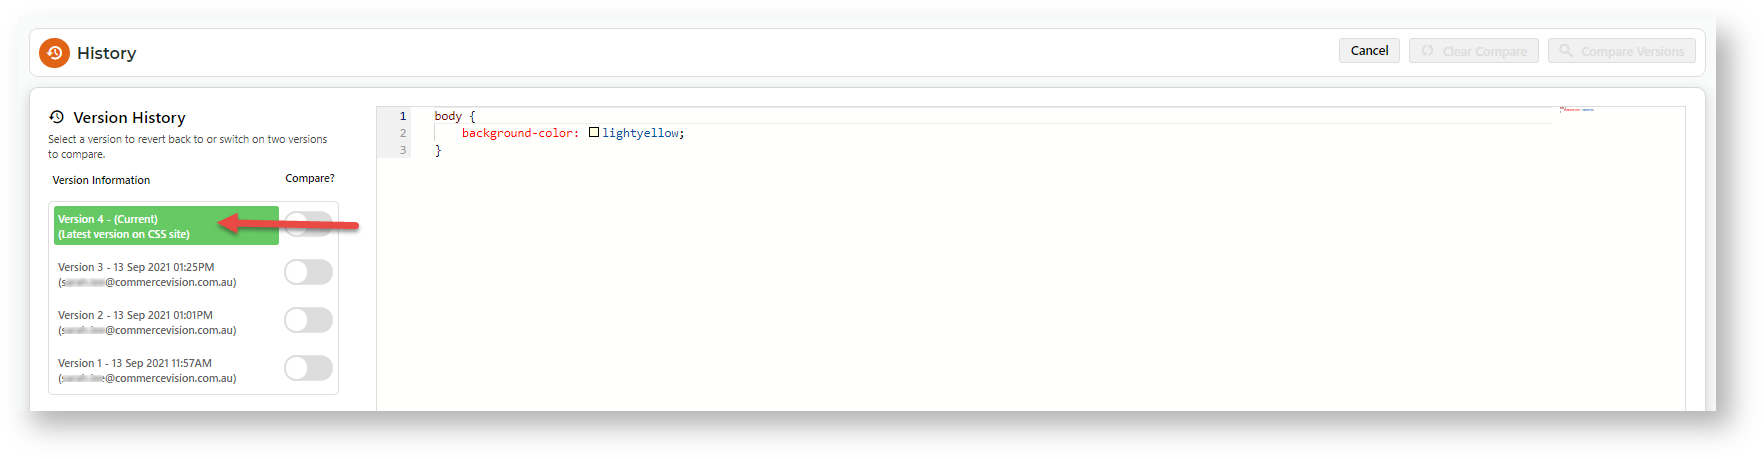
- The current and previous versions are listed. To view
...
- a previous version, click on it.
- To compare two versions, in the Compare? column, toggle ON the two versions, then click Compare Version.


...
- Changes are highlighted. When you've finished viewing, click Clear Compare.
- To use

...
- a previous version, click on
...
- it, then click the Restore this version button.
- To confirm, click Save. The

...
- previous version
...
- is copied
...
- and saved as the latest version.
Delete a script or style
| Info |
|---|
Deleting non-system scripts and styles in the CMS is available from 4.17+. NOTE - Scripts and styles currently used on a page or template cannot be deleted. They have to be removed from templates first. |
- In the CMS,
...
- go to Advanced Content → Scripts & Styles.
- Click on the Javascript or Style Sheets tab.
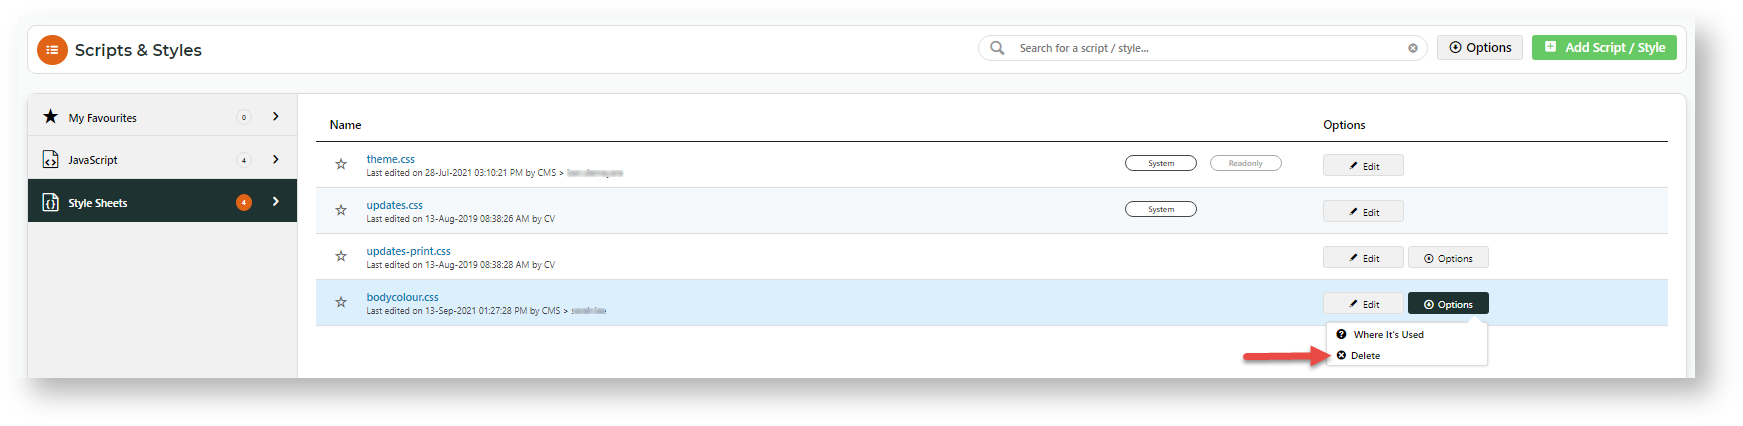
- User-created files will have both 'Edit' and 'Option' buttons. To delete the file, hover over
...
- Options
...
- , then click Delete. NOTE - System files
...
- cannot be deleted.
- In the delete confirmation popup, click OK.
Check where a script or style is
...
in use
- In the CMS,
...
- go to Advanced Content → Scripts & Styles.
- Click on the Javascript or Style Sheets tab.
- Find the file name, hover over its Options button,
...
- then click Where It's Used.
- The templates currently

...
- using the script or style
...
- are shown.

Minify Scripts and Styles
To improve the load time of web pages on your website, existing files can be minified.
- Go to Advanced Content → Scripts & Styles.
- Hover over Options, then click Minify All Files.
- In the popup, confirm you want the files minified.

Additional Information
| Minimum Version Requirements |
| |||||
|---|---|---|---|---|---|---|
| Prerequisites |
| |||||
| Self Configurable |
| |||||
| Business Function |
|
...
| Multiexcerpt | ||
|---|---|---|
| ||
Contact Commerce Vision |
...
| Multiexcerpt | ||
|---|---|---|
| ||
Contact Commerce Vision |
| ||||||
| BPD Only? |
| |||||
|---|---|---|---|---|---|---|
| B2B/B2C/Both |
|
...
| Third Party Costs |
|
|---|
...
| MultiExcerptName | CMS Category |
|---|
...
| Multiexcerpt | |||||||||||||
|---|---|---|---|---|---|---|---|---|---|---|---|---|---|
| |||||||||||||
Macro Instructions for carrying Article Information through to Feature List
Instructions for carrying Excerpts through from this page to the Feature List Article Page: Add macro / Multiexcerpt (or copy and existing excerpt and edit) or (Copy existing page and place content into existing excerpt macros) On Features List page: Click in the Cell to be populated / add macro / Multiexcerpt Include / Select the Article page and the excerpt (or copy another feature line and edit the 'Article page' source. |
Related help
| Content by Label | ||||||||||||||||||||
|---|---|---|---|---|---|---|---|---|---|---|---|---|---|---|---|---|---|---|---|---|
|