OverviewOverview
| Excerpt |
|---|
The Layout Creator in the CMS allows you to create custom layouts for various pages throughout your site. You can also even create a custom Theme layout, if you choose. The layout creator essentially lets you add rows to a layout, and then divide those rows up into columns. Each row can be made up of one column, or many. |
| Info |
|---|
Layout Creator functionality is not on by default, but can be enabled in Settings → Website Features. Simply click to toggle the feature on. |
Creating a New Layout
- Login to the CMS and navigate to the page you wish to design the layout for.
- In the layout preview pane is the current layout, with the ability to toggle between Desktop, Tablet, and Mobile views.

- Click ‘Change’. Any existing custom layouts will be displayed, followed by out-of-the-box BPD layouts.
- Hover over ‘Options’, and click ‘Add Custom Layout’.
- Give your Layout a Name.
- If you like, you can load an example layout, then edit as required.

- Otherwise, start by adding a row.

- The modal ‘Add New Row’ window launches. This is where you specify:
- CSS classes to apply to the row display.
- Whether the row is full width (e.g. no container wrapping the row)
- How many columns you’d like (up to 6). If there are 2 or more columns, they will be created with equal width.
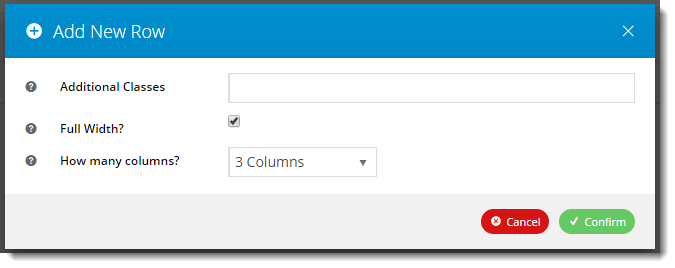
- Click ‘Confirm’ and voila! You’ve got your first row.

You can see the rows and columns are automatically named in the format Row1Column1, Row1Column2, and so on. Don’t worry – you can rename these to anything you like!

...
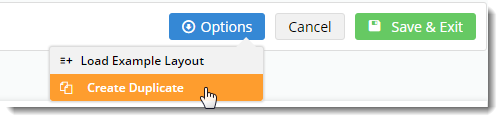
- Add a new row
- Change column widths and class names for the newly added row
- Create a duplicate/copy of the layout
See how easy it is to use our Layout Creator!
| View file | ||||
|---|---|---|---|---|
|
Related articles
| Content by Label | ||||||||||||||||||
|---|---|---|---|---|---|---|---|---|---|---|---|---|---|---|---|---|---|---|
|