...
| Table of Contents | ||||||
|---|---|---|---|---|---|---|
|
| Info | ||
|---|---|---|
| ||
|
Enable the Functionality
- Login to the CMS.
- Navigate to Advanced Content → Resources.
- Search for the resource 'rcOrderConfirmedEmailWhereClause'
- Click 'Modify'.
In the Resource Value field, enter '1 = 1'.
Warning If you're testing this in your Stage site (recommended!), adjust the where clause to one specific test customer only. This way, orders in the Test ERP won't trigger real emails to real customers during testing!
Instead of a where clause of "1 = 1", try something like Code = 'ABC02' (which would apply to customer ABC02 only).
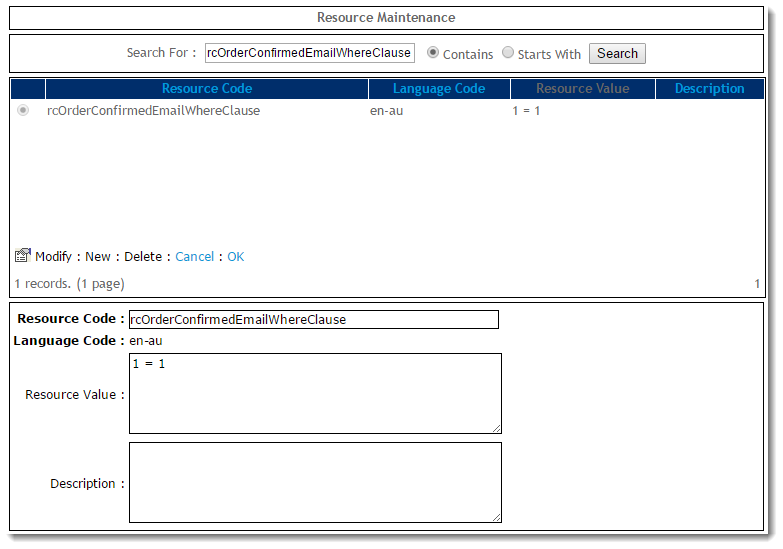
- Click 'OK' to save.
- Now search for the resource 'rcOrderShippedEmailWhereClause'.
- Click 'Modify'.
- In the Resource Value field, enter '1 = 1'.
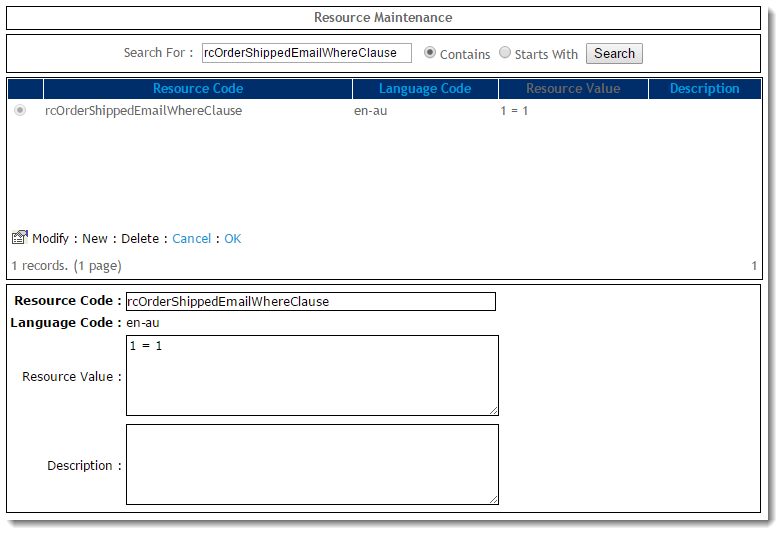
- Click 'OK' to save.
- Now search for the resource 'rcOfflineOrderConfirmationEmailInvoiceDateBuffer'.
- Click 'Modify'.
- In the Resource Value field, enter the number of days to check for orders. This prevents confirmations for old orders on start up being sent. If this is set to 0 - the functionality is effectively off.
- Refresh the System Settings dictionary to pick up the above changes. You can find instructions here - Forcing A Cache RefreshRefreshing.
| Info | ||
|---|---|---|
| ||
If Order Shipped emails have not been enabled for your site, your offline users will only receive the Order Confirmation email. To configure Order Shipped emails, refer to this guide - Order Shipped email notificationsemails. |
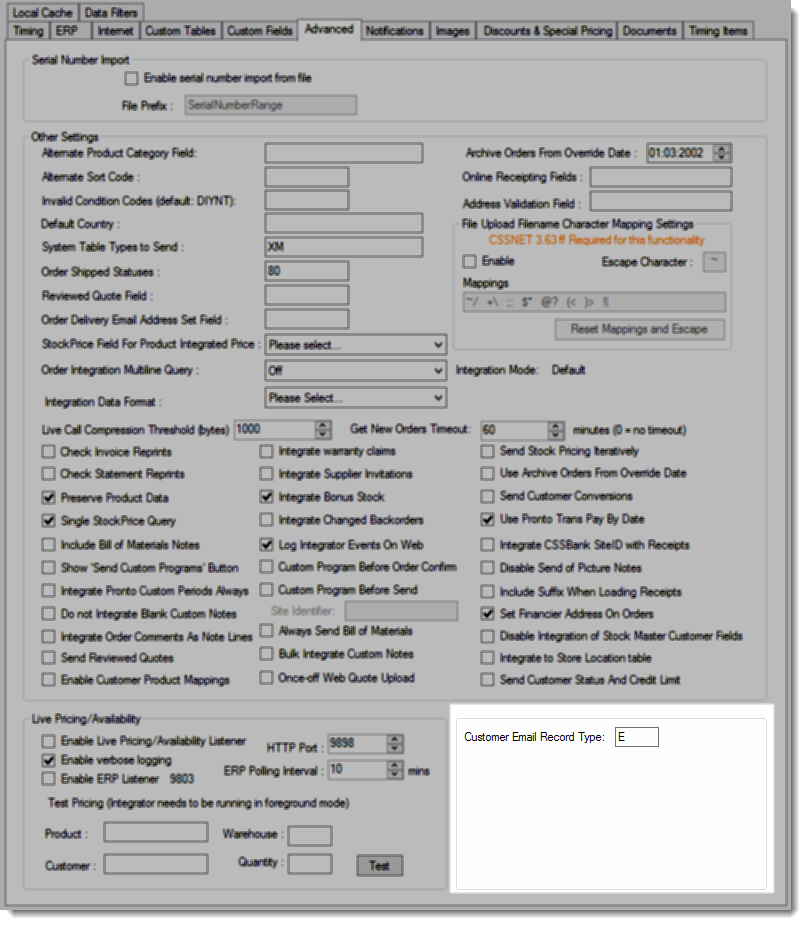
Update Integrator Settings
- Open the Integrator client.
- With the appropriate site selected, click 'Settings'.
- Select the 'Advanced' tab.
- Set the 'Customer Email Record Type' to 'E'.
- Select the 'Local Cache' tab.
- Select the 'Customer_DeliveryAddress_EMAIL' table and click 'Empty Selected Tables'. If there is no entry for this table, disregard this step.
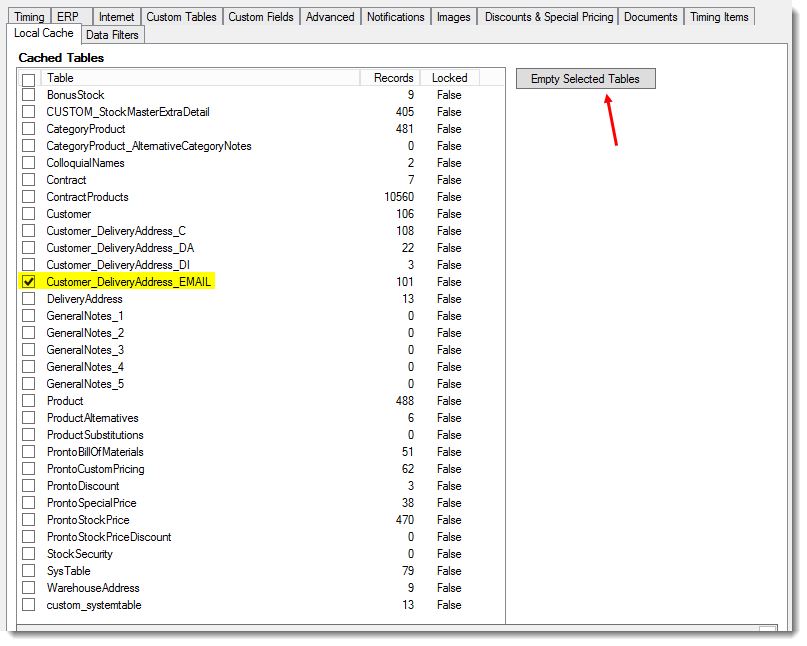
- Click 'OK' to save.
- Stop, then re-start your integrator. If you're unsure how to do this, see Integrator - Stop and Start.
- Once the integrator has re-started, trigger a Send All for 'Customer Master'.
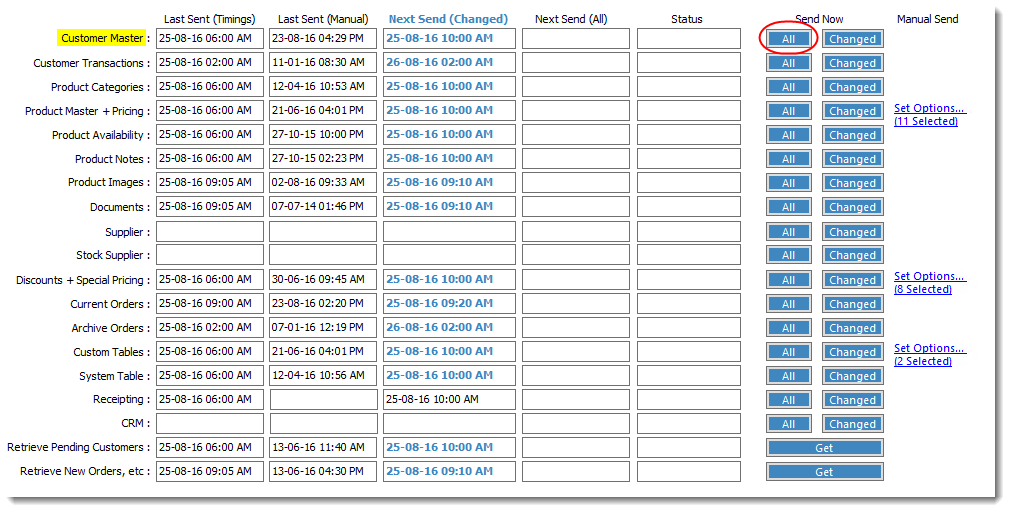
Congratulations! Now any customer with a valid email address in PRONTO'S Delivery Email Address field can receive order confirmation & shipped notifications! Emails will be triggered when changed 'Current Orders' integrates.
Customising Templates
To edit the content or layout of your Offline Order Confirmation and Shipped emails, simply configure the widgets in the templates as required.
- Login to the CMS.
- Navigate to Content → Emails.
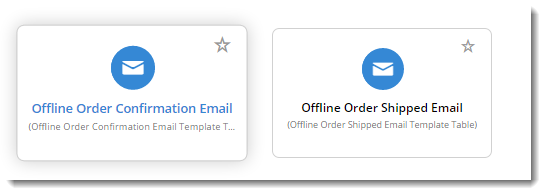
- Select the required template:
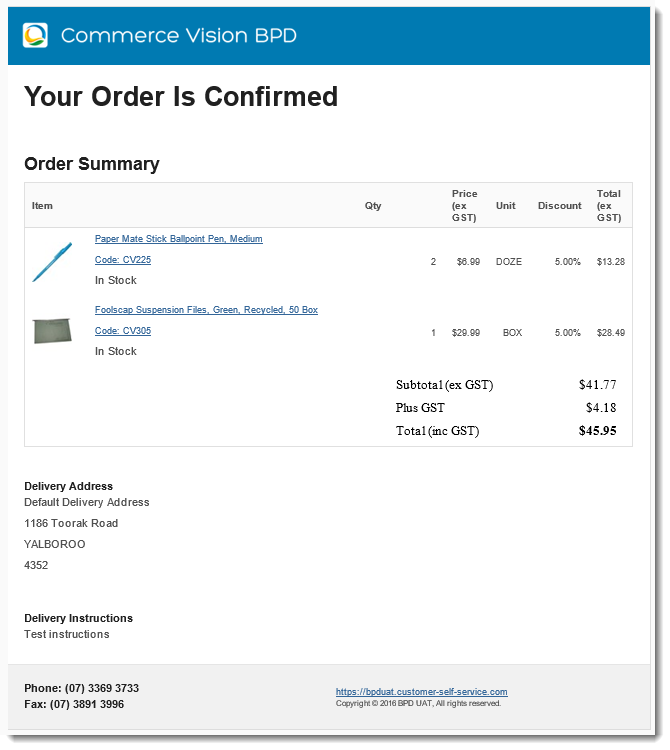
- Offline Order Confirmation Email
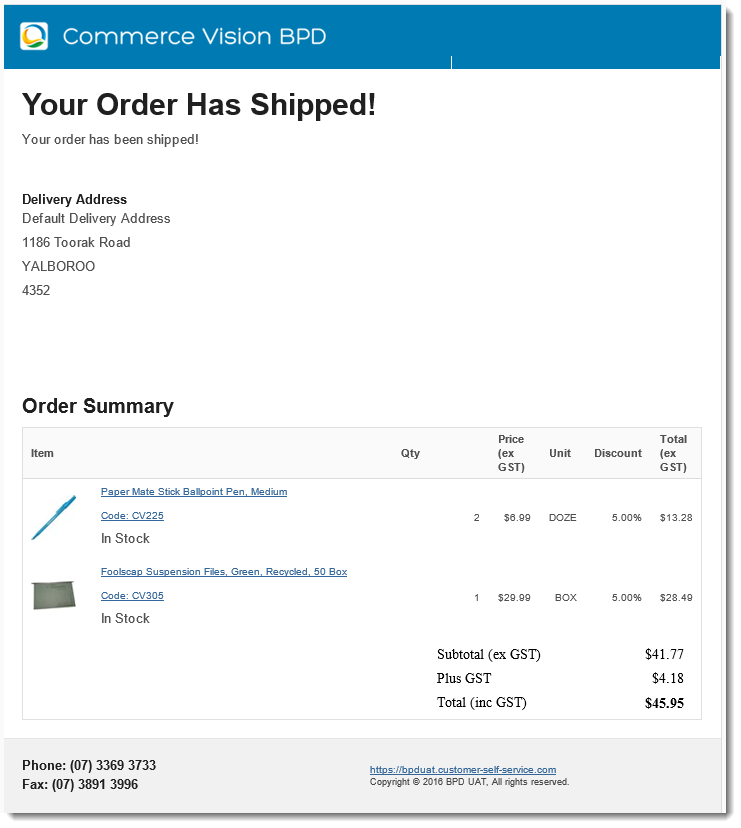
- Offline Order Shipped Email
- Add, Edit, or Delete widgets as required.
- Use the 'Test Email...' option to verify that output is as you expect.

...
Customising based on Order Source
...
- Find the PRONTO code for the order source you wish to customise. For example, "P" might signify a POS order in PRONTO, "-" might be internet, and so forth.
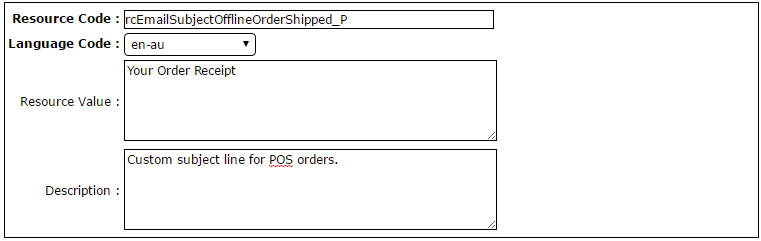
- Create a new resource to act as an override for that source type:
- In the CMS, navigate to Advanced Content → Resources.
- Click New.
- In the Resource Code field, enter ''rcEmailSubjectOfflineOrderShipped_XYZ", replacing XYZ with the PRONTO code for your order source.
- In the Resource Value field, enter the custom text for this order source. This will become the Subject for offline emails from this source.
- Give the resource a Description to help you identify it and find it in searches.
- Click OK to save.
- Your Offline Order Shipped email subject will now display this resource value. Any source types without an override will display the value of "rcEmailSubjectOfflineOrderShippedDefault".
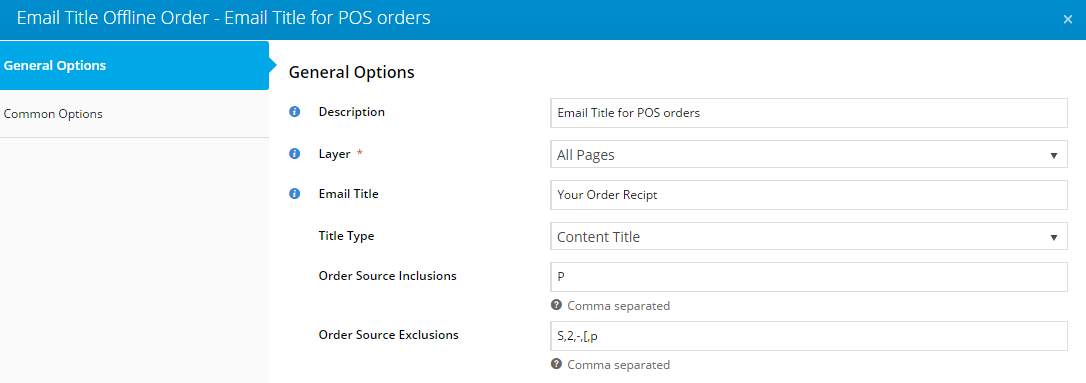
Now that the subject line is being overridden for this source type, you may wish to also customise the heading shown in the body of the email.You can do this via the Email Title Offline Order widget.
- In the CMS, navigate to Content → Emails.
- Select the Offline Order Shipped Email Template.
- In the zone 'AfterHeader' (or other zone according to your layout), add an Email Title Offline Order widget.
- Drag the widget so it sits below the original Email Title Offline Order widget.
- Edit your newly added widget.
- Enter the Email Title to be displayed in the body of the email.
- Set the Title Type to either Content, or Order (Order will include the order number)
- In the Order Source Inclusions field, enter the type you wish to display this title for.
- In the Order Source Exclusions field, enter the type(s) you wish to exclude for this title.
- Click Save.
- Now, Edit the original Email Title Offline Order widget.
- In the Order Source Exclusions field, enter the type you just customised the subject for.
- Click Save.