| Excerpt |
|---|
Everyone loves it when something is customised just for them. Now, you can tailor the content on your website to the individuals who use it. With your users and their ' preferences in mind, you can display promotions, targeted messaging, and product suggestions. Offering relevant content through personalisation builds loyalty, strengthens customer relationships, and can drive sales. This guide will walk you through Personalisation in the CMS. |
...
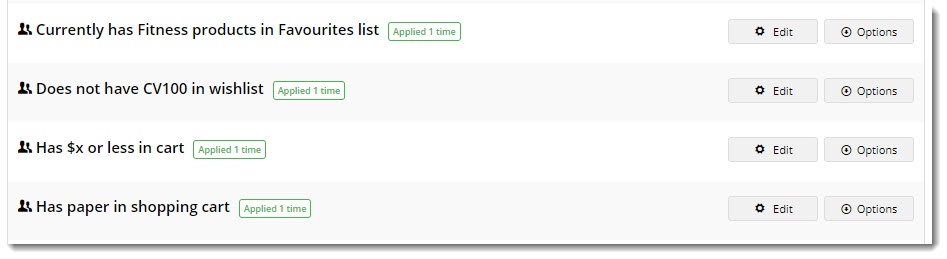
Navigate to Advanced Content → Personalisation. Here's the Rule Maintenance page where all of your personalisation rules will live. You can see existing rules (if you have any), or create a new rule from this screen.
Create New Rule
Let's say we're running a promotion on fitness equipment, and we want to target people with these products in their Favourites / Wishlist.
- On the Personalisation - Rule Maintenance page, click 'Create New Rule'.
- Enter a name for your rule. Be descriptive - the name might help you easily locate your rule among a long list one day!
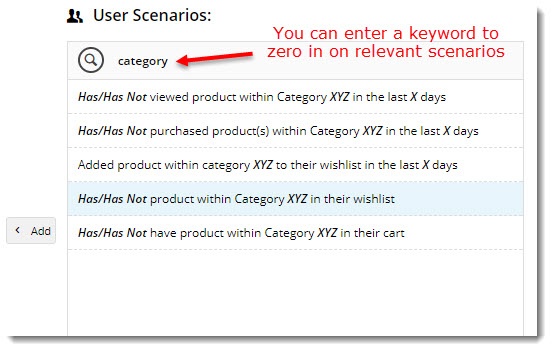
- Select a user scenario from the list. You can enter a search term to filter results by keyword.
- Double-click the scenario (or highlight it and click 'Add') to add it to the rule builder.
- Next, set the value of each variable in the scenario:
- some variables will toggle between 2 options on click (has/has not, more/less, etc.)
- other variables will launch a popup on click, where you can define the value (such as a product code, number of days, dollar amount, etc.)
- Repeat steps 3 - 5 if your rule will be built from multiple scenarios.
- Save or Save and Exit.

Apply a Rule to a Widget
- Navigate to the template the widget is on.
- Edit the widget you want to personalise.
- Select the Personalisation tab.
- Click 'Add Existing Rule'. (If you hadn't created the rule already, you could click 'Add New Rule' and follow the above steps for creating rules).
- Your list of rules will open. Locate the one you want to use and click 'Add'.
- The rule will be added to the widget, but will not be active. You can use the toggle to turn the rule on.
- If you need to edit or delete the rule, hover over the Options menu.
- Click Save to exit the widget.
...