Instead of redirecting your users to a login page, you can present login functionality in a modal window.
Step-by-step guide
To replace the standard Login widget with the modal version:
- Login to the CMS.
- Navigate to Content --> Theme Layout.
- Locate your Login / Logout widget (generally located in the first zone).
- Unselect the tickbox on the Login / Logout widget to disable it. The widget name should now have a strikethrough and look like this:

- Click the 'Add Widget' button.
- Search for 'Login Logout Modal'. Select it and click 'Add Widget'.
- Drag the widget so it sits just under the disabled Login / Logout widget.
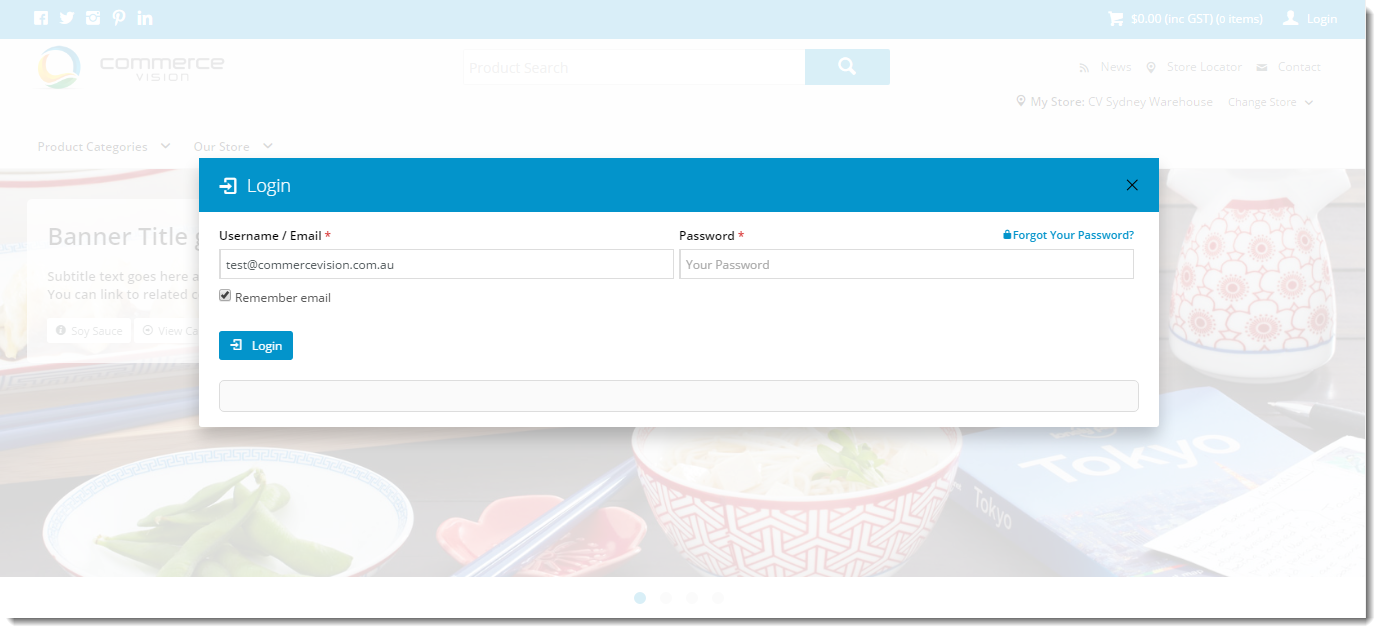
- In another browser or incognito window, load your website home page.
- Click the 'Login' link and verify that a modal window launches.
To customise text and widget options:
- Login to the CMS.
- Navigate to Content --> Theme Layout.
- Click 'Edit' on the Login Logout Modal widget.
- Update settings and text as required.
- Click 'Save'.
- Re-launch the modal window in your other browser to verify changes.
To include additional content in the modal window:
- Login to the CMS.
- Navigate to Content --> Standard Pages.
- Select the 'Login Logout Modal Page' template.
- Add widgets to this page as required (for example, an HTML Snippet widget to render custom text or images).
- Re-launch the modal window in your other browser to verify changes.
Related articles