Overview
Have you ever wanted to split the display of a campaign's products over different sections of the page? Perhaps you'd like to group one subset of products under a particular heading, then another few products under an alternate heading.
Well, now you can! From version 3.95+, the Campaign Slider widget has an option to split one campaign across multiple widgets. Creating a split campaign also means that you can track statistics as a single campaign.
Let's demonstrate with a use case.
Use Case
In this example, I'm going to have a Featured Products campaign for my home page. I want to keep all the products in one campaign for reporting purposes, but for the display I want to group like products under separate headings.
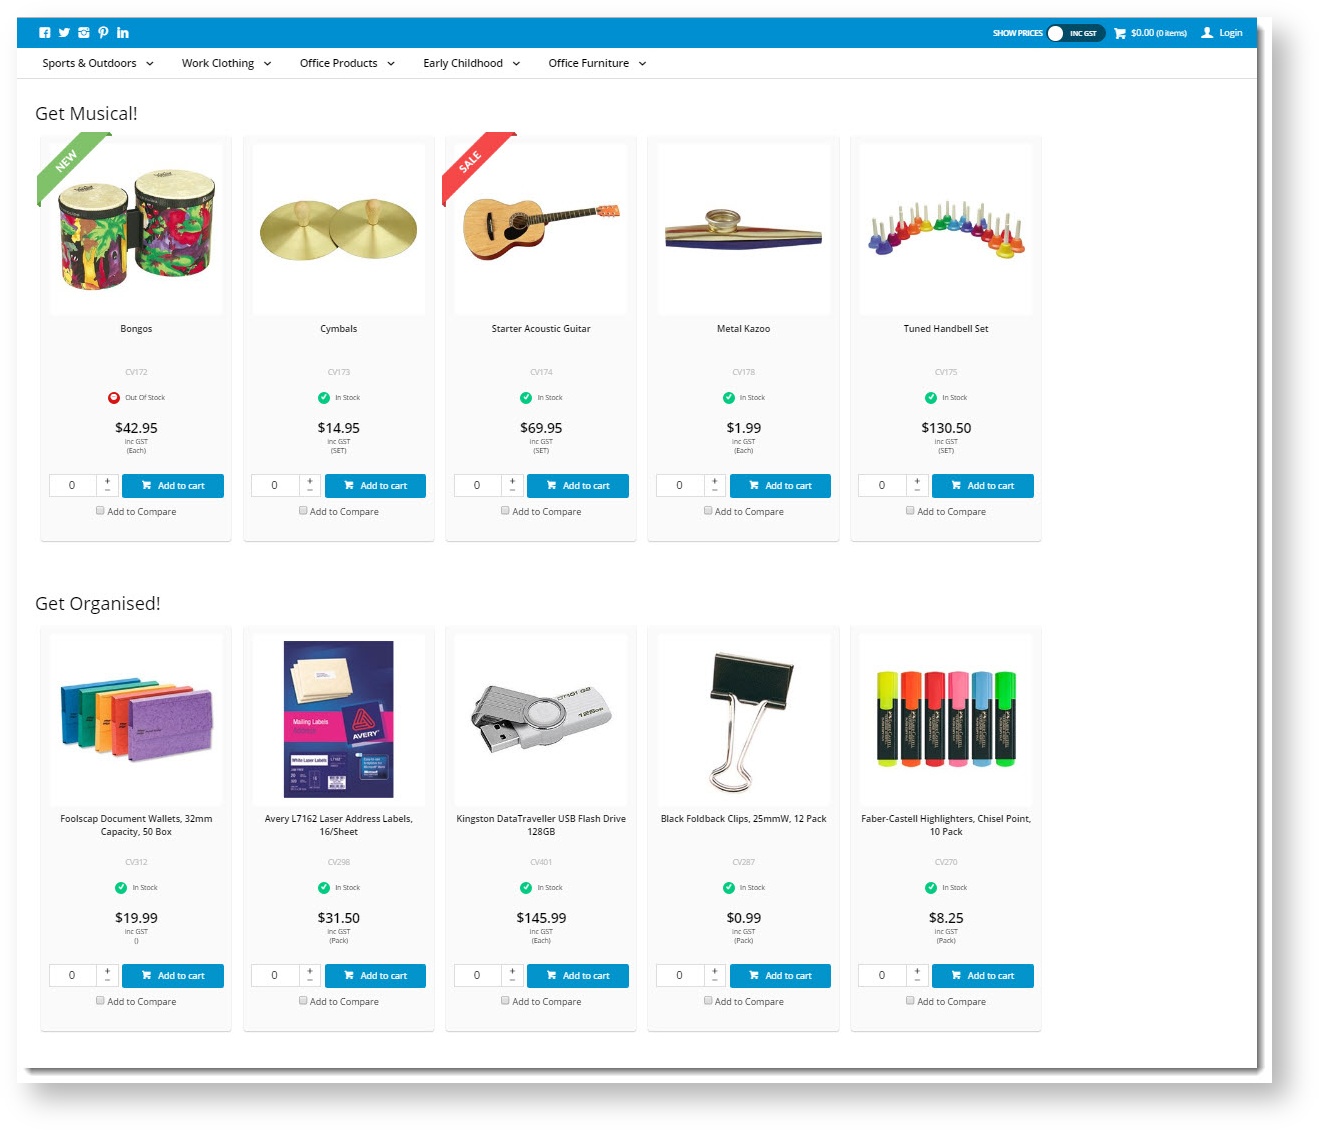
Here's how I want it to look when I'm finished. You can see that all of the musical instruments are in one group, and the office products in another:
Step-by-step guide
- First, I'll need to create my campaign and populate it with products. If you're not sure how to do this, see our guide in Product Campaigns.
IMPORTANT
Be sure to sequence the products in the order they should appear in each part of your split campaign. If a product is in the wrong order, it can display in the incorrect section.

2. Next, add the Campaign Slider widget to the page and configure it.
- Navigate to the page template you require; in our example we're using the Home Page.
- Click 'Add Widget' in the appropriate zone.
- Select the Campaign Slider and click 'Add'.
- Be sure to configure these particular fields as follows:
- Campaign - select your product campaign from the dropdown.
- List Title - enter a heading to be displayed above this set of products.
- Max Number Of Products - enter the number of products to be displayed in this group. In our example we entered 5, so this widget will display the first 5 products.
- Is Split Campaign - tick this to enable the splitting functionality.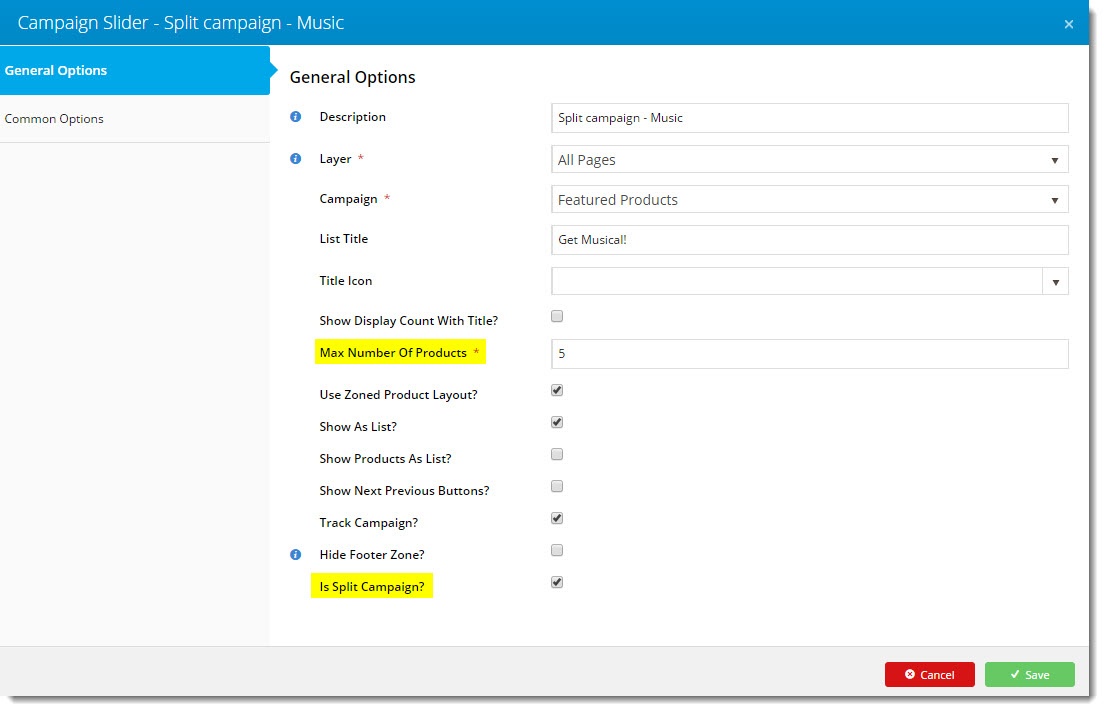
- Configure the other options as required.
- Click Save.
3. Repeat steps 2 - 6 for your next group of products from this campaign.
4. You can add as many widgets as you have products for!
In another browser/incognito tab, load your website and check the display of your campaign. Looks great, right?

And that's it! Your split campaign is all set up and ready to captivate your customers.
Warning
Please note that disabling one of your split Campaign Slider widgets will cause it to 'lose' the sequence relationship with the other split campaign widgets. You will need to re-add each widget again individually if you wish to re-enable a previously disabled widget.
Related help