Is this feature disabled?
![]() This feature needs to be switched on for your site by Commerce Vision. For Version 4.37+.
This feature needs to be switched on for your site by Commerce Vision. For Version 4.37+.
Overview
Cost centres allow your B2B customers to assign purchases to different budget areas of their business, e.g., departments, offices, branches. Cost centres are created at the Customer account level. Provision can be made to integrate cost centre codes from your ERP.They can also be linked to indvidual Customer Users. When set up for a customer account, the user can assign an order or order line to a cost centre before checkout. Use of cost centres can be set as optional or mandatory.
This guide adds a cost centre to the cart order header. For order line level cost centres, see: Cost Centres.

On this page:
Step-by-Step Guide
Configure Cost Centres at header level settings
1. Enable Cost Centres at header level
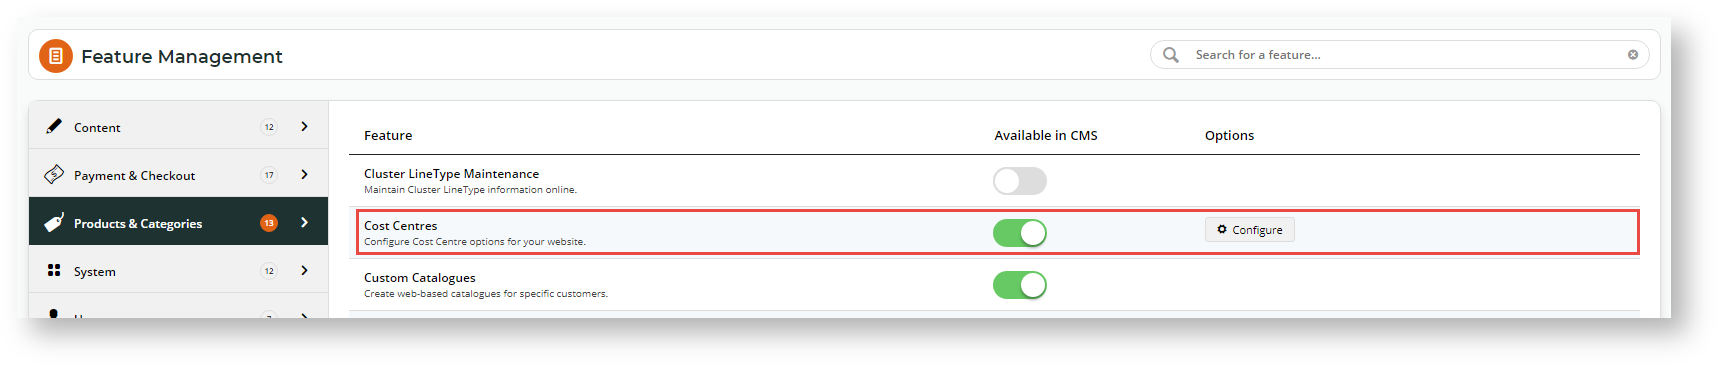
- Go to Settings → Settings → Feature Management → Products and Categories.
- Toggle ON Cost Centres.
- Click Configure.
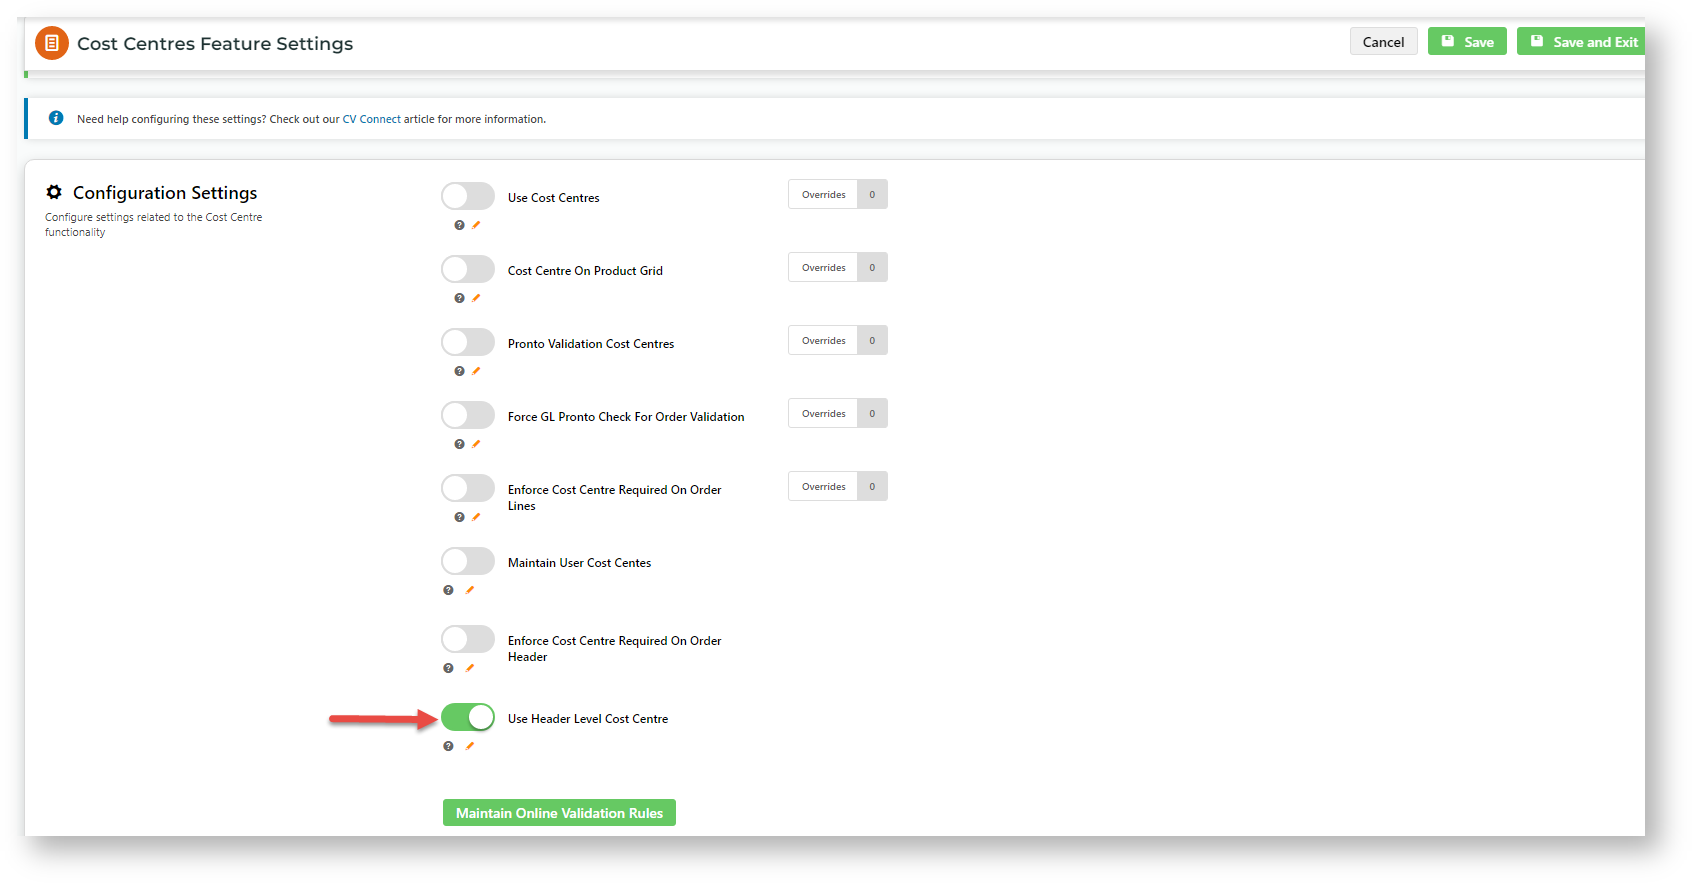
In the Cost Centres Feature Settings screen, scroll down to the screen. Toggle ON Use Header Level Cost Centre.
If a customer user has to add a cost centre when placing an order, toggle ON Enforce Cost Centre Required on Order Header.
If cost centres are set as mandatory, cost centre codes must be set up for the customer, otherwise the user will not be able to check out.
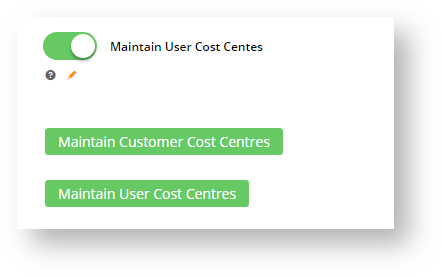
Maintain User Cost Centres: Toggle ON to allow cost centres at the user level to be maintained. Once this is enabled, options to access cost centre maintenance at customer and user levels are displayed. NOTE - User level cost centre maintenance will also be available via a user's Edit User's screen.
2. Add Header Level Cost Centre Widget to Cart template
This widget renders the Cost Centre Code box to display in the Cart page. Depending on setttings, the user selects a cost centre or enters one.
- Go to Content → Content → Pages & Templates → Checkout → Cart, then click Edit.
- In the zone you want the header cost centre box to display, click Add Widget.
- Add the Header Level Cost Centre Widget.
- (optional) Edit labels and text displayed, See: Header Level Cost Centre Widget.
Create a customer cost centre
NOTE - A Cost Centre is always linked to a Customer but cost centres can be created and assigned at the Customer User level.
To create a cost centre at the customer level:
- In the Cost Centres Feature Settings screen, ensure the Maintain User Cost Centres toggle is ON.

- Click Maintain Customer Cost Centres.
- In the Maintain Customer Cost Centres screen, any existing cost centres are listed. Click Add Cost Centre.

- In Customer, select the customer code for this cost centre. NOTE - Make sure you're entering the Customer Code, not the Bill To Code.
- In Cost Centre Code, enter a code for the new cost centre.
- In Cost Centre Name, enter a name/description for the cost centre. This will be displayed to the user in the 'Select cost centre' dropdown list during the order process.
- Click Save, or Save & Add Another if you want to add another new cost centre.
Bulk Import/Export Cost Centres
Instead of maintaining cost centres manually, you can also bulk import/export them.
Import Cost Centres
IMPORTANT - You should have the prepared .csv file ready to import before beginning. If you need, you can download a template in the Customer Cost Centre Import page.
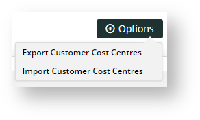
- In the Maintain Customer Cost Centres screen, hover over the Options button and select Import Customer Cost Centres.
- Select the Import Type to use. TIP - Use Append adds new customer cost centres to the list of existing cost centres. Any duplicates will not be uploaded. Use Overwrite to add new customer cost centres and replace all existing cost centres.
- Click Select Files and upload your cost centre .csv file. The import will automatically begin.
- If successful, the following messages will display on the screen. Any duplicate cost centres will not be added. These will be mentioned. If unsuccessful, a fail message will display.


Export Cost Centres
The Export function lets you download a .csv file containing all cost centres.
- In the Maintain Customer Cost Centres screen, hover over the Options button and select Export Customer Cost Centres.
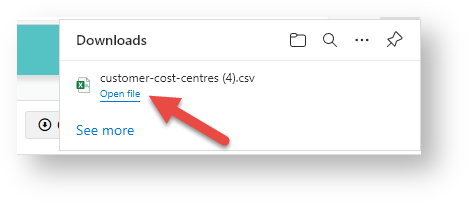
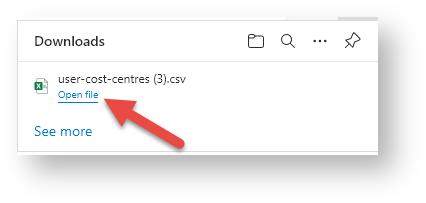
- The file will automatically download. To view the file, click Open file.
Assign Cost Centre to a Customer User
When Maintain User Cost Centres is enabled, you can also access this function via each user's Edit page.
To create a cost centre at the customer use level:
- In the Cost Centres Feature Settings screen, ensure the Maintain User Cost Centres toggle is ON.
- Click Maintain User Cost Centres.
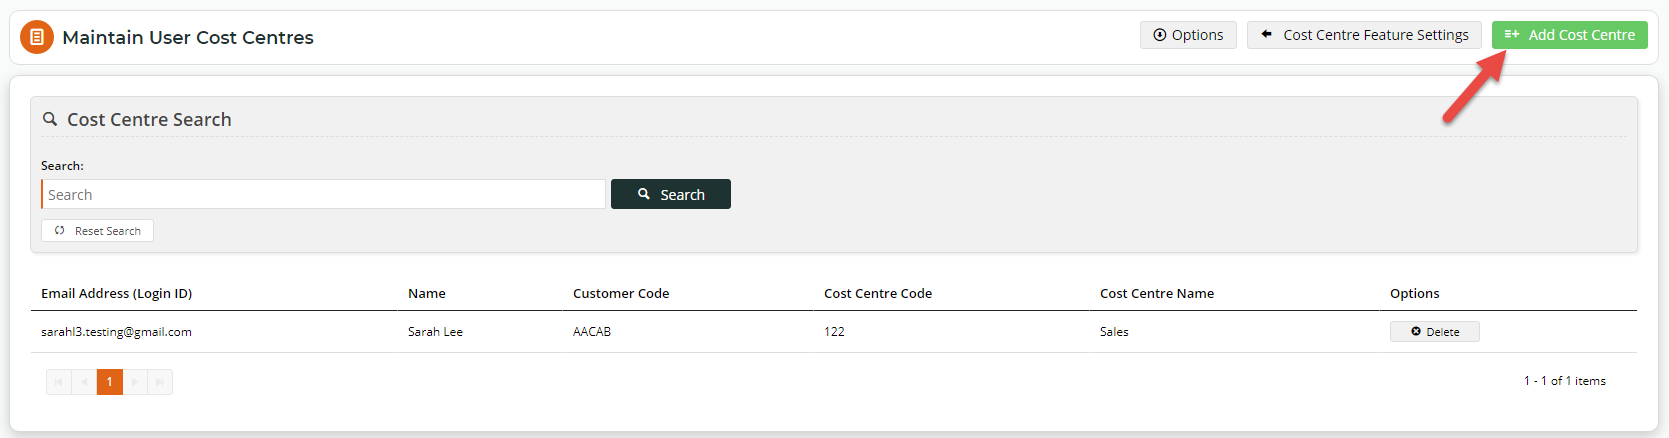
- In the Maintain User Cost Centres screen, any existing User Customer cost centre assignments are listed. Click Add Cost Centre.
- In User, select the user.
- Depending on the User, in Customer, linked customer accounts are displayed. Select the customer.
- In Cost Centre, from the dropdown list, select a code. NOTE - if there are no cost centres, you cannot proceed with assigning a cost centre to this user.
- Click Save, or Save & Add Another if you want to assign another cost centre to a user.
Bulk Import/Export User Cost Centres
Instead of maintaining cost centres for users manually, you can also bulk import/export them.
Import User Cost Centres
IMPORTANT - You should have the prepared csv file ready to import before beginning. You can download a template in the User Cost Centre Import page.
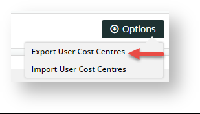
- In the User Cost Centre Import screen, hover over the Options button and select Import Customer Cost Centres.
- Select the Import Type to use. TIP - Use Append adds new customer user cost centres to the list of existing ones. Any duplicates will not be uploaded. Use Overwrite to add new customer user cost centres and replace all existing cost centres.
- Click Select Files and upload your cost centre .csv file. The import will automatically begin.
Export Customer User Cost Centres
The Export function lets you download a .csv file containing all customer users and their cost centres.
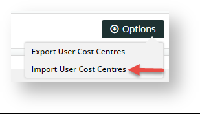
- In the User Cost Centres screen, hover over the Options button and select Import User Cost Centres.
- The file will automatically download. To view the file, click Open file.
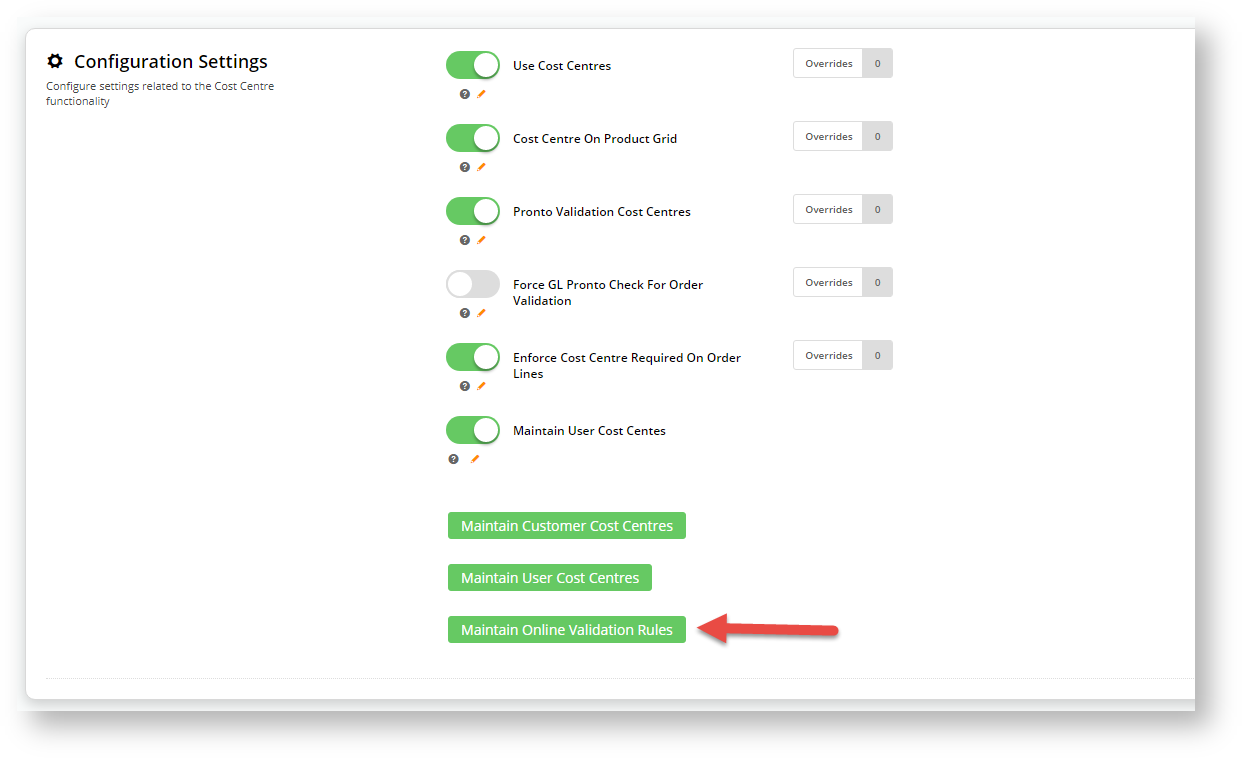
Maintain Online Validation Rules
This function allows you to maintain online cost centre validation rules and cost centre defaults. NOTE - The Pronto Validation Cost Centres toggle must be enabled for validation checks to be applied on the website.
NOTE - There can only be one active validation rule against a customer at any one time, with the exception of Bill To level validation rules where a customer level rule will override any Bill To ones.
To add a new validation rule:
- In the Cost Centres Feature Settings screen, click the Maintain Online Validation Rules.
- Click Add New Validation Rule.
- In the Add New Validation Rule page, enter the values for the validation rule.
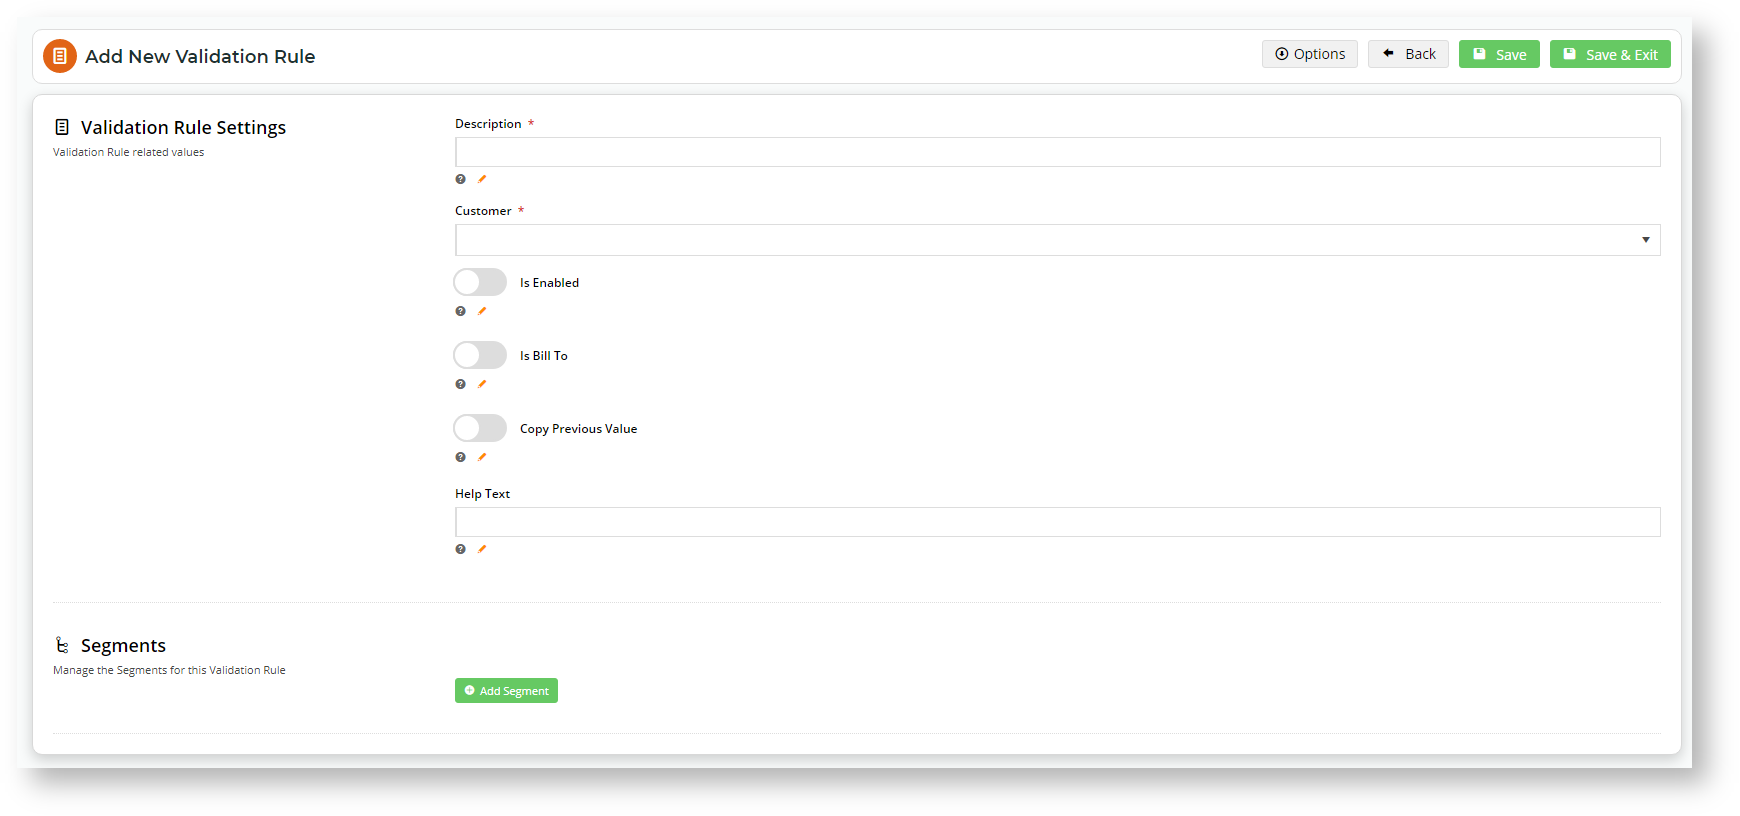
- Description: enter a suitable description for this rule.
- Customer: select the customer code this rule applies to.
- Is Enabled: toggle ON/OFF to enable/disable this rule.
- Is Bill To: toggle ON if this rule is for a Bill To code and will apply for all customer codes with that Bill To.
- Copy Previous Value: toggle ON to copy the cost centre value from the previous line in the order if no cost centre is selected.
- Help Text: if online validation is being used, enter a useful tip that displays for the user when entering or selecting the cost centre code.
Add a validation rule segment
Validation rule segments allow you to define how the cost centre code must be entered for each customer code. Valid codes may differ from customer to customer and can be segmented. Segments allow parts of a code to be validated individually. For example, a code like 'AB12345' has one segment and 'AB-345-67' has three. We would only need to create and define one segment rule for 'AB12345', but three for 'AB-345-67'. A segment rule can be set by the number of characters, value type and entry type. NOTE - So that the code can be correctly validated, only the last segment can have different values for the minimum and maximum number of characters.
To add a segment:
- While in the validation rule, click the Add Segment button.
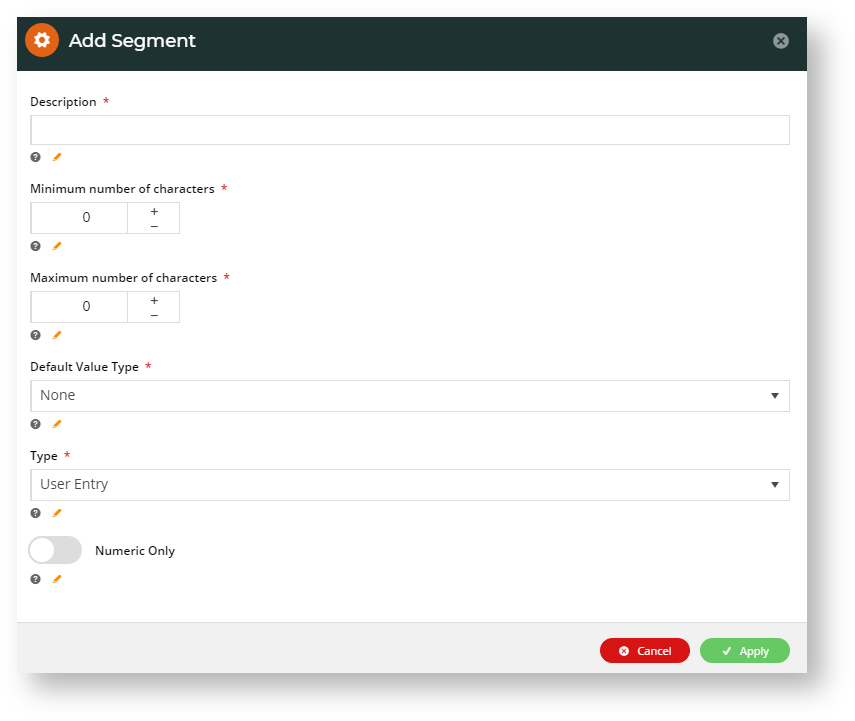
- In the Add Segment window, enter values for the segment.
- Description: enter a suitable description for this segment.
- Minimum number of characters: enter the minimum number of characters for this segment.
- Maximum number of characters: enter the maximum number of characters for this segment.
- Default Value Type: select None: no default value; Fixed value: default value; List: user selects from list.
- Type: select the value entry type. User Entry: allow user to enter; Fixed Value: enter a Default Value that must be used in this segment; List: display a list for the user to select a value.
- Numeric Only: toggle ON if only numerical values are allowed to be entered in this segment.
- To save this segment, click Apply.
- Define more segments for this code if required.
Related help