Is this feature disabled?
![]() Custom Layout Creator needs to be switched on for your site by Commerce Vision.
Custom Layout Creator needs to be switched on for your site by Commerce Vision.
To add a background colour to a custom page:
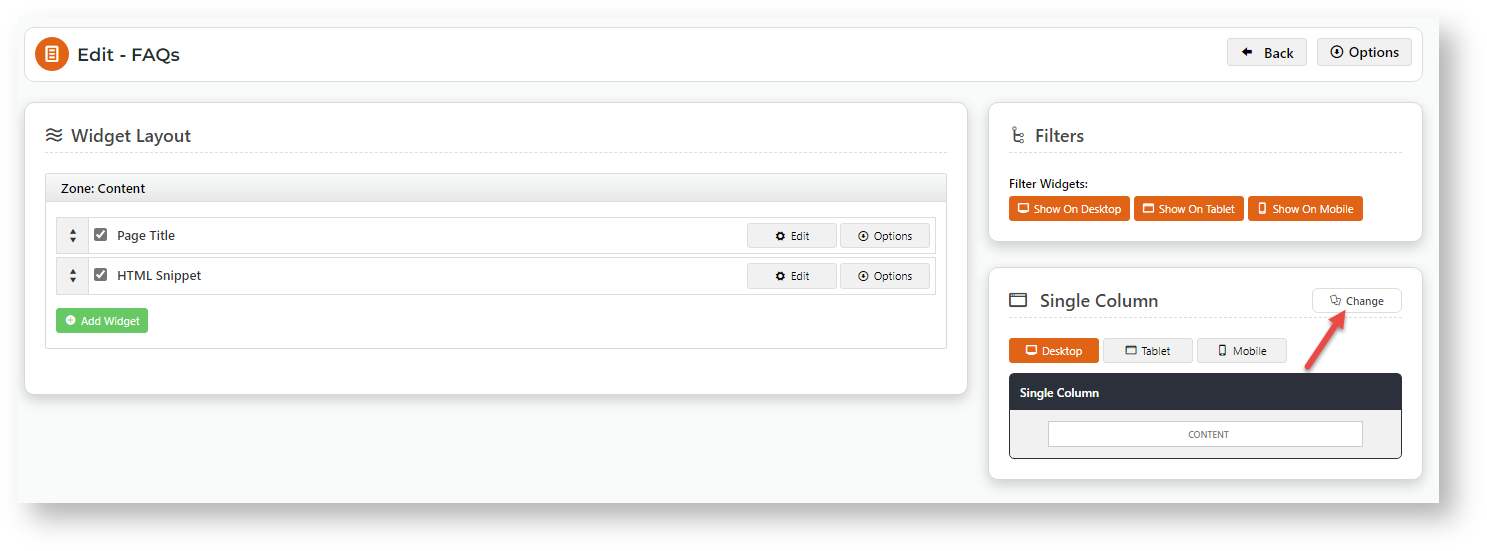
- Go to the page you want to edit (Content → Pages & Templates).
- Click Change on the Layout panel.
- Hover over Options, then Add Custom Layout. (NOTE - If this is unavailable, Custom Layout Creator has not been enabled for your site. Contact Commerce Vision.)
- In Name Your Layout, enter a suitable name for this layout.
- Select Add a Row.
- In the Add New Row modal:
Additional Classes: enter the colour code for the row based on your provided style guide. (See: Content → Style Guides → UI Elements)
- In the CMS, go to Content → Style Guides → UI Elements.
- Go to your site's syle colours. Here's an example.

- Note down the label(s) against the colours.
- primary-background
- default-background
- secondary-background
- black-background
- white-background
- In Additional Classes, add the colour label against '-background'.

Full Width: Tick if the row is the full width across the screen.
How many columns? Select the number of columns for the row.


Once you have added in your background colour classes, you can hit save and add the widgets you require into the new layout zones.
Then you can hit save and preview your new colourful template.
Column Example | Width | Sizing Example (width x height in px) |
|---|---|---|
| 1 | 100% | 1440 x 200
|
| 2 | 50% | 720 x 200
|
| 3 | 33.333% | 480 x 200
|
| 3 | 66.666% | 960 x 200 |
| 4 | 25% | 360 x 200
|
| 4 | 75% | 1080 x 200
|
| 6 | 16.667% | 240 x 200
|
| 8 | 12.5% | 180 x 200
|
| 12 | 8.333% | 120 x 200
|


Related help