Web scraping is increasingly used to extract a website's content and data, often conducted through automated via price bots and crawlers. For instance, competitors may target your site this way to retrieve content for various reasons. To discourage scraping of your Customer Self Service eCommerce Platform site, you can enable the Honeypot setting. This helps detect suspicious IP addresses and temporarily restricts them from accessing your site. Administrators can view the list of restricted IP addresses and remove them if needed.
What are bad bots?
Not all bots are bad. But you will want to be aware of these ones that could be bad for business:
Website scraper bot: This type of bot will generally send a series of HTTP GET requests and then copy and save all the information that the web server sends in reply, making its way through the hierarchy of a website until it's copied all the content. More sophisticated scraper bots can use JavaScript to, for instance, fill out every form on a website and download any gated content. "Browser automation" programs and APIs allow automated bot interactions with websites and APIs that try to trick the website's server into thinking a human user is accessing the content. An individual can manually copy and paste an entire website of course but bots can crawl and download all the content on a website often in a matter of seconds, even for large sites like e-commerce sites with hundreds or thousands of individual product pages.
Price scraping: This is when a company downloads all the pricing information from a competitor's website so that they can adjust their own pricing accordingly.
How it works
IP addresses are flagged as suspicious when they access a special trap route on your site. This route to a 'hidden' page will not be accessed through usual browsing or by legitimate purchasing customers/website visitors.
Step-by-step guide
To enable and configure the setting,
- In the CMS, navigate to Settings → Feature Management.
- Select System, then enable Honeypot.
- Click Configure.
- To enable Honeypot on your website, toggle ON Enable Honeypot.
- In Honeypot Trap Route, enter the path of the hidden page. The route can be any name. NOTE - This name should be changed from time to time to counter scrapers from detecting that it is a 'hidden' page.
- In Ip Timeout Minutes, enter the number of minutes a restricted IP address will not be permitted to access your site. After the set timeout, the IP address will be able to access your site again. However, it will remain on the list of sites that have been restricted. NOTE - The timeout minutes must be a number higher than zero. If '0' is entered, it will default to '1'. Default: 60min.
- In Honeypot Code, leave the default code as it is.
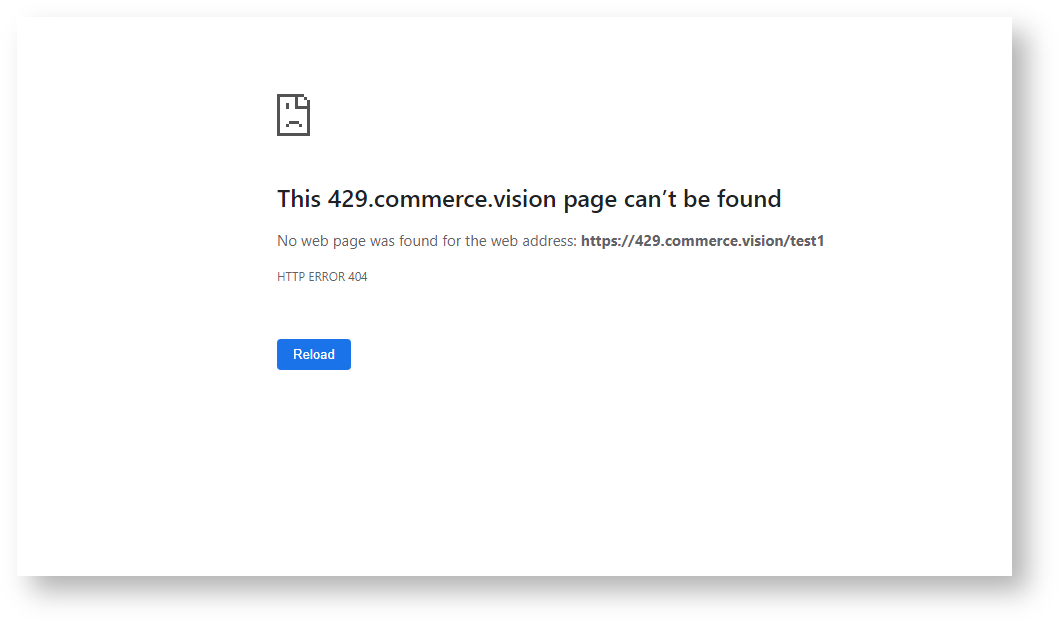
- In Response Type, select either '404 - Not Found' or 'Response Message Content'. This determines the page type returned when the trap route is accessed.
- 404 - Not Found: the route has no page so the server returns a not found error.
- Response Message Content: the route leads to a meaningless content page
If 'Response Message Content' was selected, the Response Message Content editor automatically displays. Enter the content including formatting and styling for the page.
This page should be edited to resemble other pages on your site.
- To save the settings, click Save or Save & Exit.
View restricted IP addresses list
All IP addresses that are restricted currently or in the past are listed in the Restricted IP Maintenance section of the Honeypot Settings screen. They will remain in this list even when expired unless manually deleted.

To delete an IP address, tick its Delete checkbox, then Save or Save & Exit.
Related help