Is this feature disabled?
![]() Enabling this feature needs consultation with Commerce Vision.
Enabling this feature needs consultation with Commerce Vision.
Overview
Online retailers experience 3x as many returns as brick and mortar stores, and the processing of these returns is a costly overhead for most businesses. Being able to accept and track returns online can streamline the process for both you and the customer.
The Online Returns feature manages return requests from the order details page. Its builtin range of settings and options allow returns to be configured to suit your business practices and policies. Online returns are also integrated back to your ERP so they can be managed as part of your normal returns process.
Features
- Allows easy return with one-click from order details page
- Validates that items are returnable/non-returnable
- Allow one or multiple returns per order
- Restrict return to certain order types
- Set a return time frame window
- Auto-send return-related emails at key stages of the process
- Set rule to handle low value returns
On this page:
Your Customer Experience
Returns procedure
- The user logs in and opens the order (Order Tracking/History). If the order contains returnable lines, the Return Items button is dislayed. The user clicks it to start the return.

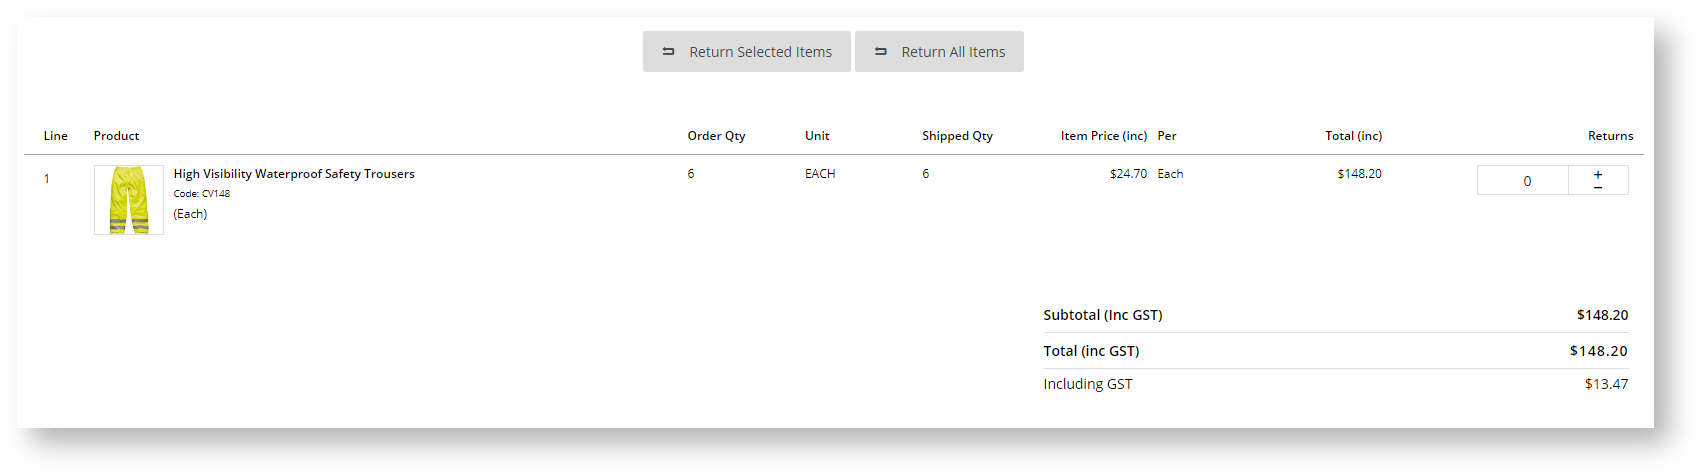
- If there are multiple returnable items, they can select the number of items on each returnable line and click Return Selected Items. OR to return all returnable items, they click Return All Items.
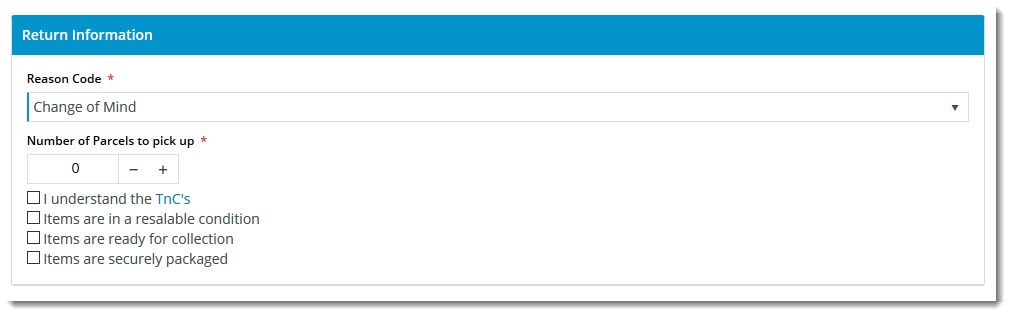
- The user enters pickup and return information, e.g., return reason, number of parcels, whether the stock is in resellable condition, etc. What they need to enter depends on your settings.

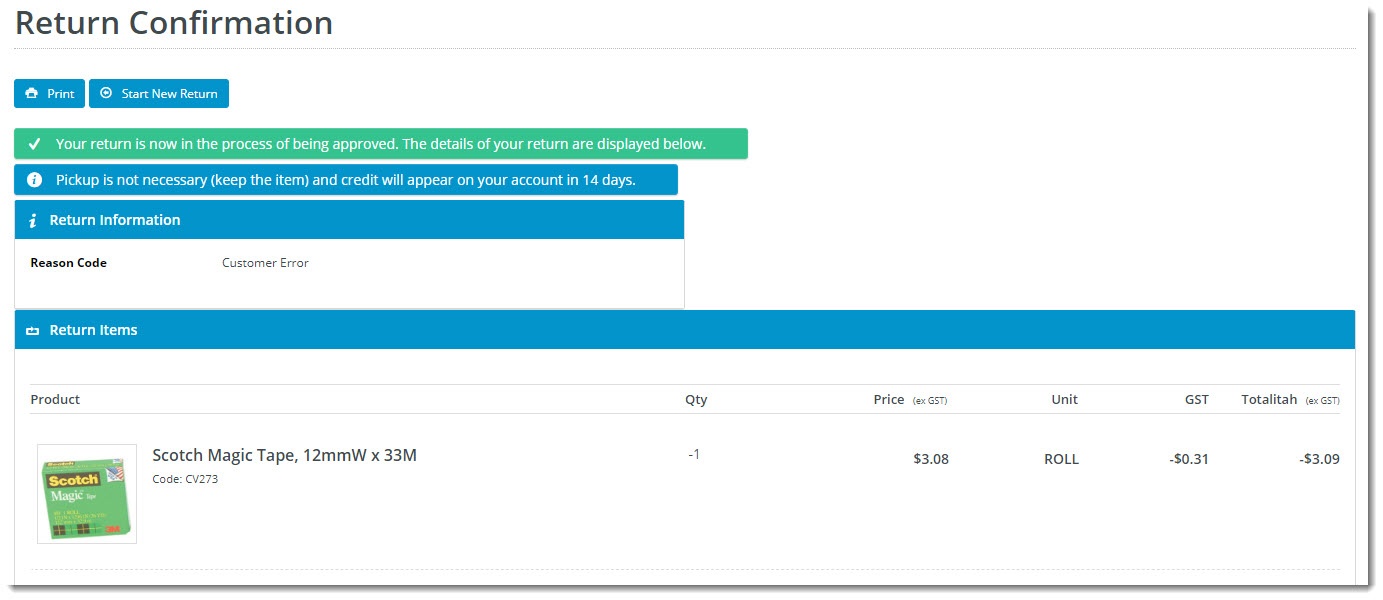
- The user submits the return. The confirmation page details shipping information. If the low stock value rule is on and the return value falls below it, they will be told to keep the stock.

- Depending on your settings, the user may receive an email confirming the return submission. The online return integrates back to your ERP and is managed as part of your normal business process for returns.
Step-by-step Guide
1. Configure Online Returns
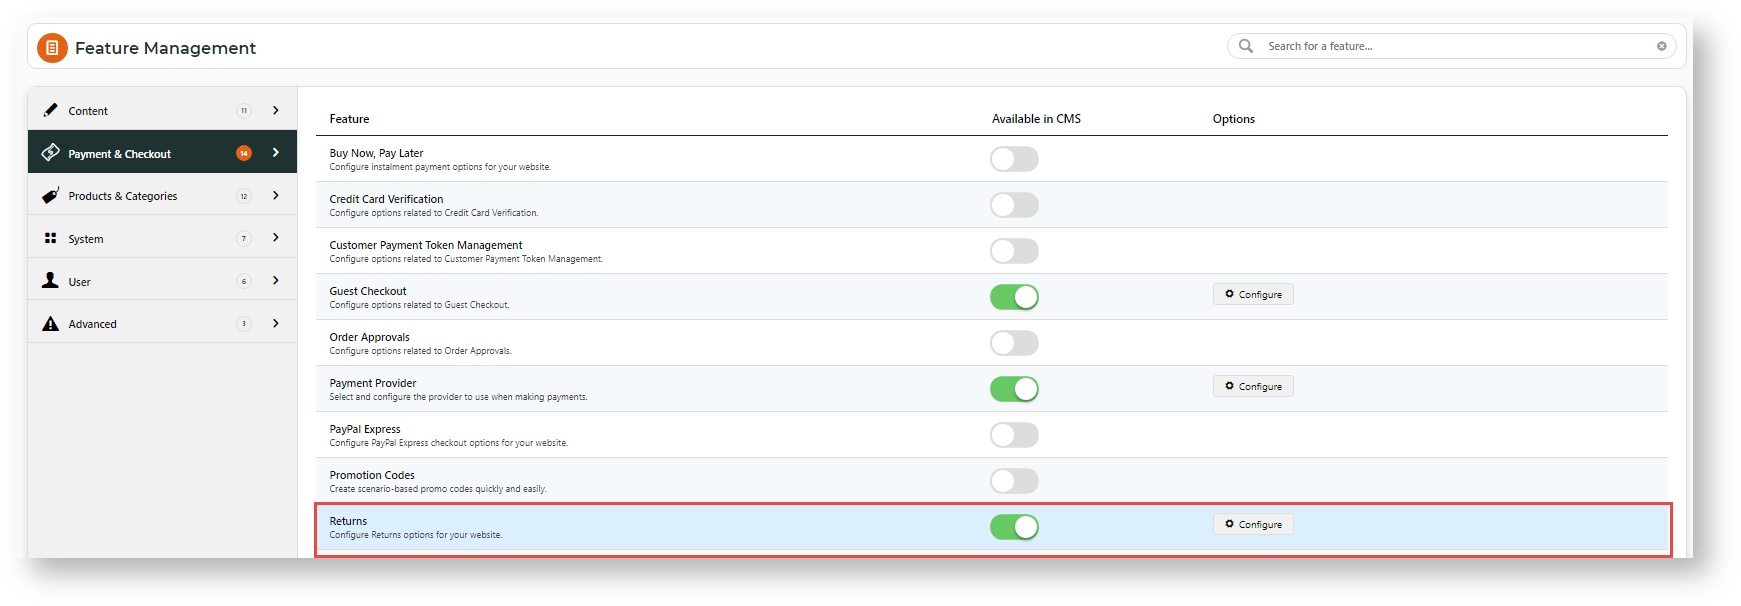
- In the CMS, go to Settings → Settings → Feature Management.
- Select the Payment & Checkout tab.
- For the Returns feature, click Configure.
In the Returns Feature Settings page, configure settings to suit your business rules.
- Click Save
2. Add Return Reasons
You'll also need to set up the Reason Codes so that customers can choose a valid return reason.
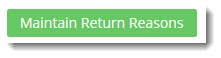
- On the Returns feature settings page, click the Maintain Return Reasons button.
- Click Add New Return Reason.
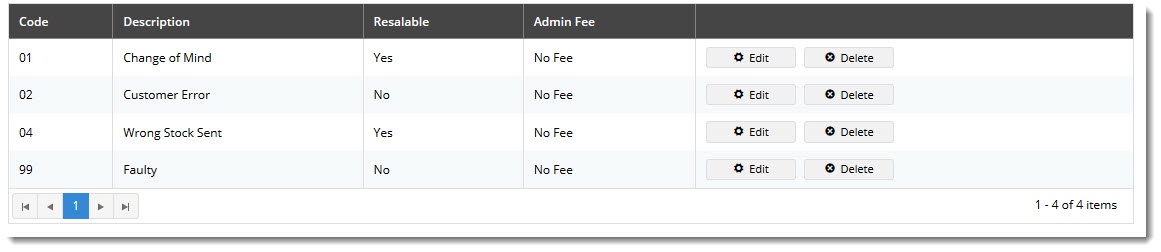
- Enter the return details:
- Code - the reason code, integrated to the ERP against the return order.
- Description - the description the user sees in the dropdown selector when submitting an online return.
- Resaleable - indicates whether this reason prevents the product from being re-sold (pending stock condition).
- Admin Fee - the fee charged if this reason is selected. TIP- commonly applied to 'change of mind' scenarios.
- Save and repeat Steps 2-4 to add all required reason codes.
3. Customise Pages
The Online Returns feature includes content displayed to users as they go through the returns process. Below are the templates and related widgets that can be customised.
Order History/Tracking page
Order History is where the user starts a return. You can customise the text on the buttons, error messages, and tooltips.
![]()
- Go to Content → Content → Pages & Templates.
- Use Search to find the Track Orders template, then click Edit.
- Find the Track Order widget, then click Edit.
- Select the Returns tab on the left hand side to view all return-related options. See: Track Order Widget.
- To save changes, click Save.

Submit Return page
The Submit Return page is where the user enters information such as return reason, number of parcels, and other information.
Widgets used in this template include:
- Return Information Widget
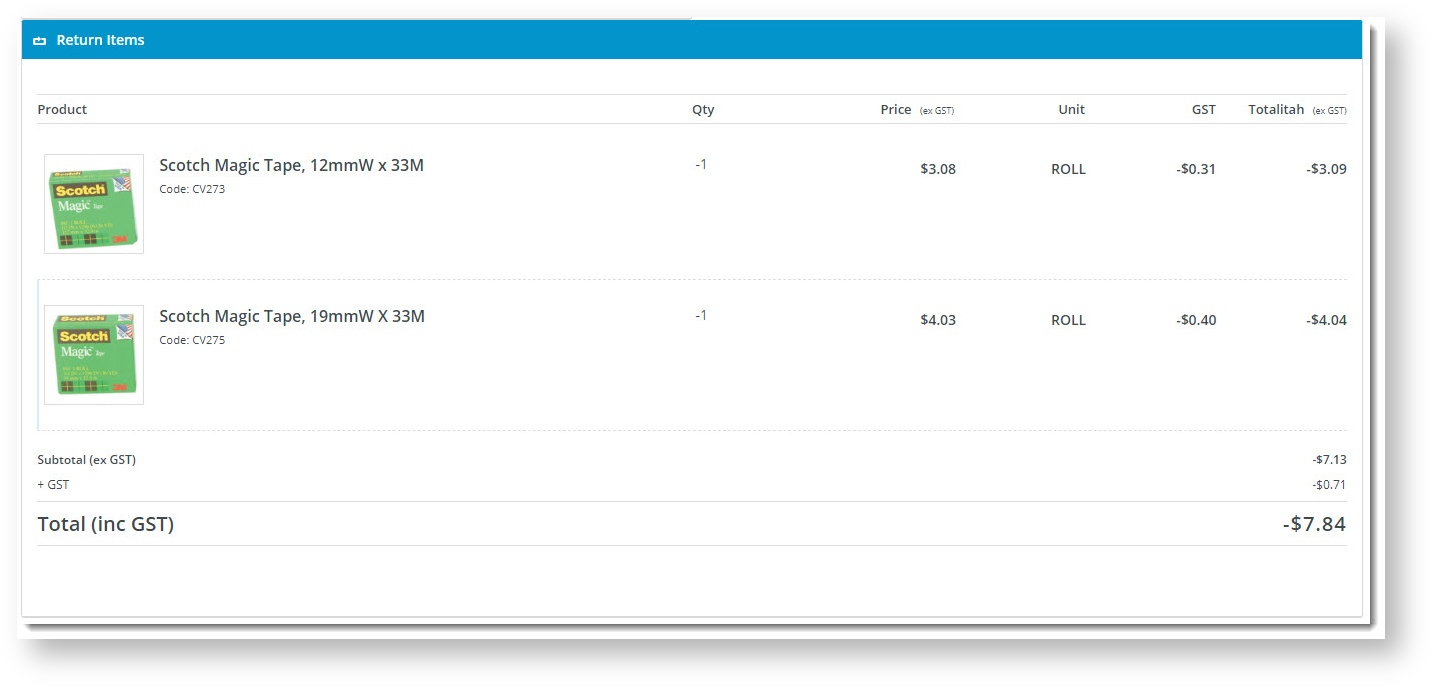
- Return Lines Widget
- Return Order Summary Widget
- Submit Return Buttons
Return Lines Static Info
This template is used to display the return lines information on both the Submit Return page and the Return Confirmation page. There are no return-specific widgets on this template.
Return Confirmation Page
The Return Confirmation page is displayed to the user after they've submitted the return.
Widgets in use on this template include:
- Return Confirmation Message Widget
- Return Confirmation Address Widget
- Return Confirmation Return Info Widget
- Return Confirmation Summary and Lines Static Widget
4. Edit Return Emails
To customise return-related emails:
- Go to Content → Content → Emails
- Use the Search tool to find return-related emails. Enter 'return' in the Search box.
- Select the email template to edit.

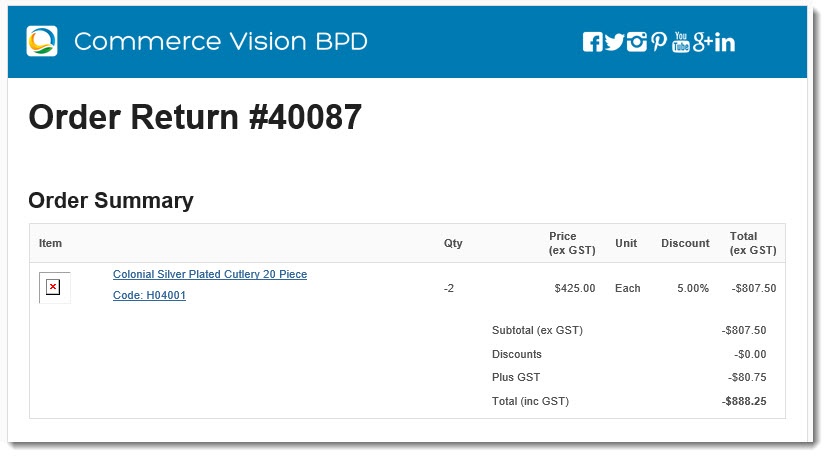
Returns Order Confirmation Email
This email is sent to the user to confirm their return has been received and is being processed.
Returns Order Confirmation Low Value Email
This email is sent to the user to confirm their return has been received and a credit for their low value item will be refunded.

Mark a Product Non-Returnable
If Online Returns is enabled but there are products that cannot be returned, go to the product's Maintain Product page and untick Is Returnable.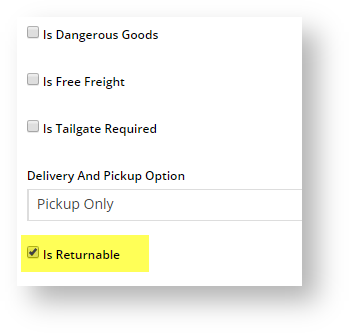
Additional Information
| Minimum Version Requirements |
|
|---|---|
| Prerequisites |
|
| Self Configurable |
|
| Business Function |
|
| BPD Only? |
|
| B2B/B2C/Both |
|
| Third Party Costs |
|
Related Resources
Related widgets